How to Shoot a Cinematic Documentary/Interview

Shooting documentary shorts or featured interviews about a person or business is a great way to share someone’s story in a visual, emotional way. Think about the about page on someone’s website – probably a few paragraphs of text and a photo or two; pretty boring if you ask me. Now think about if you mixed someone’s story with a cinematic representation or visualization of that story – it will reel the consumer in and have them itching to learn more about who they are or what they do.
In today’s article. we’re going to go over how to shoot a cinematic, documentary-style interview.
Pre-Production
Now, before you can actually get started filming a cinematic interview, you’ll need a subject – even better yet, you’ll need a compelling story.
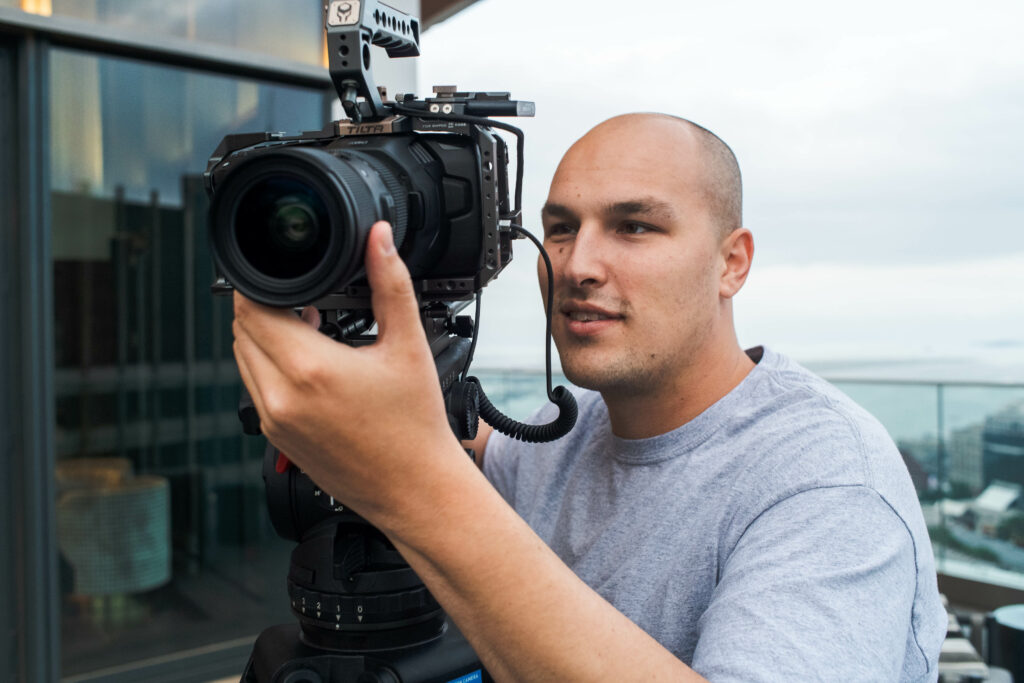
To tell someone’s story, you’ll need two things to create an amazing video: cinematic footage + intriguing audio. To do this, we like to break our documentary interviews into two parts:
- Talking Headshot
- Staged/Candid Environmental Video
With a combination of these two, we will be able to bring our subject’s story to life and make them look like a professional, regardless of their line of work.
Say you wanted to film a story about a basketball player – there are tons of basketball players out there, but getting an interview with someone who not only has passion, but also has a unique story will really help with your project.
Whether you are setting up the interview and producing it yourself or if you are getting hired to shoot an interview, your subject is everything. Make sure you, your team, and your subject are all on the same page before the shoot actually starts!
Production Steps
1. Scout Location

The first step for shooting your interview is scouting the location/setting you’ll be shooting at. Ask yourself – ‘what is going to help show who this person/business is?’. It is crucial that you are thinking about this and not just, ‘oh, that spot looks cool’. Remember the goal isn’t just to look cool; the goal is to look compelling while also doing everything you can to show who/what your subject is.
When scouting your location, be mindful of light, audio, and size of the space. You’ll need to bring in audio/lighting/crew to help out so make sure there are no terrible noises that will distract the audio, make sure there is no bad, flickering lights, etc…
Take this time, before everyone is on set and there is a bunch of commotion, to really understand what you are looking for as a director/cinematographer.

2. Select Framing / Composition

Now that you’ve scouted your location and seen what everything looks like – yes, this means you should have gone in every room at the studio/location you are working at – you can be sure you picked the BEST spot available for your documentary.
Once you have the best spot in the house, now it’s time to frame/compose your scene. Do you want a wide-shot? A close-up?
Do you want your subject to look directly at the camera? Or at the interviewer?
Should we have the subject seated facing the camera? Or angled a little bit?
Which third of the frame should we have the subject?

These are all questions that the director/dp should be thinking about and deciding on because they all play a large role in how the final video will come out. Make sure you subject is filled iin on where to look, how they should be seated, etc…
Once you’ve thought about all of this for a little bit and have decided on what will look best, leave your tripod/main camera where it is. If you’ll be shooting for a while, or maybe even over a long period of time – mark where your tripod is with gaffer’s tape or write down your tripod settings/setup so that you can easily replicate the frame.
3. Set Up Lighting

Next is lighting your subject. This is an important step that many beginner’s will forget, or maybe just not realize the significance and importance of it.
Lighting your subject can bring your video from an average story of themselves to something more engaging.. more emotional.
Ideally, you’d want to have someone focusing on lighting, but for smaller budget projects, you will most likely be lighting your scenes yourself. Check out our 5 Lighting Set-up Ideas for Interviews here if you are looking for some inspiration for lighting your scene!
4. Decorate Set

Ahhh, much better – the scene is lit now and it’s starting to look like a real video set…. or is it? You’ve got the lighting set up, but another KEY step that many cinematographers will forget is to decorate the set.
No, we don’t mean start adding in tons of bullshit – we mean do whatever you have to do to make sure you can tell who this person is, without even having them in the frame yet.
If you’re interviewing a photographer, maybe have some camera equipment in the frame, or some photo books, or one of their prints on the wall, etc…
Note that decorating a scene doesn’t just mean ADDING things to the frame… it also means to take away anything that is distracting.
Make sure you have some nice leading lines, some empty space, a clear space for your subject without any things cutting through their face in the background, etc…
You want a clean frame, without clutter that shows who/what your subject is – don’t lose sight of this goal while decorating.
5. Set Up Second Camera
After you’ve decorated your scene, you’re almost ready to start filming… but not just yet.
If you have the budget/resources for it, you’ll want to set up a second camera. This will help in post-production to show different a different angle which will add to your production value.
Be cautious of using two different types of cameras, especially if the cameras are from different brands. All camera companies have different color science and could be noticeable in the final video.
6. Set Up Audio

If you’re a cinematographer or filmmaker like I am, this is probably your least favorite part of shooting – the audio. Maybe it’s just me and my lack of knowledge and skill when it comes to the audio department, but seriously – if you have the budget for it, please hire an audio specialist.
This will save you tons of mental stress and help out with distributing labor. Take it from someone who has had audio help on set and has also done the audio by myself. As much as you think you can do it (and maybe you can), your project will come out that much better if you have someone focusing on audio just as much as you are focusing on cinematography.
Things to note when working with audio equipment – always be sure your audio team is communicating with your video team to ensure the goals are aligned.
If your team is using a boom mic, you need to make sure it is not casting any shadows in your frame. If you’re using lav mics, make sure the whole team is aware of the mic placement – does the team really want to mic to be visible on the subject’s collar?
>> Check out some of our recommendations for Audio Equipment here! <<
Also, like we had talked about in the location scouting – if your location has some external noises like highway sounds, airplane noise, ac/heating, etc… you’ll want to try and get rid of that with sound blankets and other types of on-scene sound-proofing.
Remember, when you’re trying to make someone look as professional as possible, you can’t skip steps. Find some cheap sound blankets or foam pads and do what you need to do to make sure your project comes out perfect.
7. Talk to Subject/Crew One-on-One (Prior to Shooting)

Ok, I promise we’re almost there. It’s almost time to hit record. While everyone on set is finalizing their setup, the interviewer and subject should talk to each other one-on-one. Get comfortable with each other before the cameras start rolling, let them know that you may not always respond right away because of the need for clean audio bites. Let them know where to look, how the interview will actually go down, and anything else that is crucial for the final video. Remember, if you think of something that you forgot to mention right now, you can always let them know mid-interview as well.
Be sure to let your subject know that even though the cameras will be rolling, the goal is to make them look as good as possible. If they mess up, if they lose their train of thought, etc… whatever happens, it should be a fun, open, and welcoming setting.
Your subject needs to feel comfortable sharing their stories with you so make sure you do what you need to do to make them feel at home.
Something else to do before actually recording is to get on the same page with your whole team. Ensure that the team knows they need to stay as quiet as possible during the interview. Let them know any specific goals you have for them, and see if they have any questions. The subject isn’t the only one that should feel comfortable and at home, so should your crew.
A happy team creates a happy dream!
8. Filming…
You’ve finally made it. It’s time to start rolling cameras, start rolling audio, and get this project going!
I’ve had this whole list of steps in the notes on my iPhone for awhile now and I’m hoping that this will help someone else out there to create the project of their dreams. Use these steps as a check list for whenever you’re getting ready for a shoot and I promise you that you will start to see a change in the quality of your videos.
Take it from someone who like me, who used to think that quality of video depended on how much I got to shoot. You NEED to spend more time focusing on what you need to get to make a great video and less time shooting.
The more that you are planning and thinking about the shot(s), the better they will turn out. Don’t forget you can get the job done by shooting run and gun, but how much better is a well-prepared steak compared to a hockey-puck steak.


