Premiere Pro Basics: Learning the Workflow

Adobe Premiere Pro is an amazing video editing tool, and a very common one. But if you’re familiar with Adobe products, you know that it can be very intimidating to jump in blind. In this article we will discuss some of the most common tools that you will run into while using Premiere, so that you can get started editing as soon as possible. Let’s dive into some of the Premiere Pro basics.
Before You Edit

Before you start even thinking about editing, you need to open a new project in Premiere. If you’re starting from scratch, open Premiere and select to create a new project. Pick a name for your project and somewhere to save it on your device. The first thing you need to do after creating your project is import files to work with. This will most commonly be video files, but can also be images and audio.
Import your files into your project by dragging them into the project panel or using the Import button. In the project panel, you can rename files and put them into folders. This allows you to really organize your files any way that makes sense for you.
Navigating Panels
There are a lot of tools that Premiere packs into one window. This of course means that multiple areas need to serve multiple purposes. The top-left panel holds the Effect Controls, Audio Clip Mixer, Metadata, and Source Monitor. The bottom-left panel features the Project files, Media Browser, Libraries, Info, Effects, Markers, and History. The main viewer and the timeline have their own areas. We will be going over some of the commonly used panels in this article, so that you can navigate the basic workflow of Premiere.
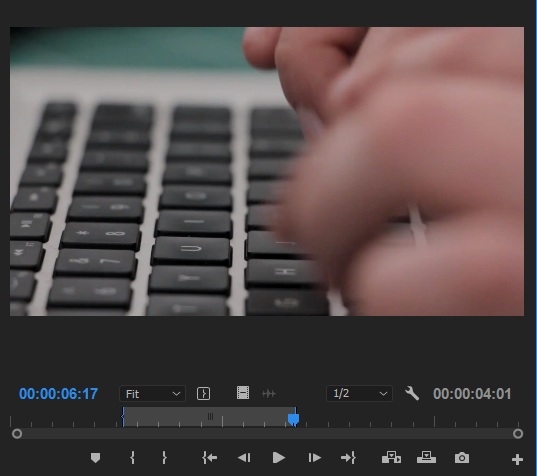
Putting Together a Sequence
The most basic of Premiere Pro basics is the timeline panel. Knowing how this panel works is the key to editing in the program. The timeline contains sequences, and defaults to having just one to start with.
Fine Tuning Clips
Before adding clips to the timeline, you are able to save some time by using the Mark In and Mark Out tools. If you know there is a portion of a clip you won’t use, you can double-click the file in your project panel to view it in the Source Monitor, then use these tools to mark an in and out point. What this will do is essentially crop a certain section of your footage. When you drag that file into your timeline, you will only see the section that you marked. This can help with footage that has a scene clapper, an intro, or just a small percentage of usable material.
Adding Files to the Sequence
Adding clips to a sequence is easy. Drag any file into the timeline to start, and your first sequence will appear in the project panel. You will see a number of video and audio tracks in the timeline, which allow you to layer different files. For example, adding a regular video file should give you one video track and one audio track. You can insert additional clips, choosing whether to insert between existing clips or to overwrite them in certain areas.
Cutting Clips on the Timeline
In most cases, you won’t want the entirety of an audio or video clip to be in your final product. There are a multitude of ways to cut up your footage, so pick whichever one is the most comfortable for you.
The first method can be achieved by selecting a clip on your timeline and moving your mouse to the side that you would like to trim. A small icon of a red bracket with an arrow should appear. Make sure the arrow is pointed in the direction you would like to trim, then just click and drag! This will cut off the selected clip without having to press a delete button.
Another way is to use the razor tool. It should be located in the tools panel that will, by default, be located between your project panel and timeline. When this tool is selected, you will see a vertical dotted line over any clip you hover over. Clicking will split the clip in two at that point, allowing you either to delete one half, or to drag the other half somewhere else on the timeline.
Both of these methods can be made more accurate by dragging the position of the video to the exact frame you want to cut on. The trimming tools will snap to this point if you get close, taking out any guesswork.
Regardless of the trimming method, you never have to worry about losing your footage. Simply use the first method of cutting in reverse – drag the bracket the direction you would like to extend the clip, and Premiere will fill back in where footage was removed.
The Effect Controls Panel

One of the other panels available in the Source Monitor is the effects panel. This will allow you to change certain aspects of your clip, such as scale, blend mode, opacity, and rotation. You can use these settings to do simple animations as well, using keyframes. By setting certain parameters and timings, you can make text or images move on a custom path.
The Effect Controls Panel is also where any added effects or transitions will be editable, for both video and audio.
Adding Effects

There are plenty of effects and transitions built into Premiere. These range from simple fade transitions up to more complex and specific ones. Which ones you use will depend on the project, but they are all very easy to use. Just drag one of the effects onto the clip you want to change, and it will be applied.
As mentioned above, effects and transitions can be tweaked in the Effect Controls Panel.
Mixing Audio
The Audio Mixer panel can be found in the same panel as the Source Monitor and Effect Controls. When you open it, you will see a mixing board with volume and pan sliders. At its most basic, you can use this panel to adjust the volume of clips, such as if one is too loud compared to another. Getting to know these sliders will result in a great-sounding final mix for your project. You may want to delete audio entirely, or make the audio come out of only one side of a stereo channel.
Export
Exporting a video file can seem complicated. You are prompted with a lot of settings and options, and if you are not familiar with video formats, it can be overwhelming. Finding the right format and settings is a topic for another article. Assuming you know what kind of file you need, you can access the Export window through the File tab, and then after you pick your format, just hit the Export button! Or if you want to export multiple videos in one sitting, you can click the Queue button to queue up the project in Adobe Media Encoder.
Hopefully this quick guide helps you in understanding some Premiere Pro basics. Once you have edited a few videos, you will probably find that the workflow is not that difficult. Like all Adobe products, however, it can be a complicated and powerful program. Don’t be afraid to look up more guides as you go through your editing adventure. Chances are someone else has had the same question and it has been answered in detail.


kg