Using Macros to Automate Video Editing

“Work smarter, not harder”. We like to measure our value based on how long it takes to do something, but wouldn’t it be great to do things quicker and ditch all the wasted time? That’s what this blog is all about, as we’re talking about macros that can speed up your workflow!
Related: 6 Methods to Speed Up Render Time in After Effects
What are Macros?
Macros are sequences of commands that you can condense down into a single button. They are commonly used in Microsoft Excel to run complex actions repeatedly. It’s automation for the busy worker! You record your mouse clicks and keystrokes, then you can make minor changes. This is great for things like applying large-scale formatting.
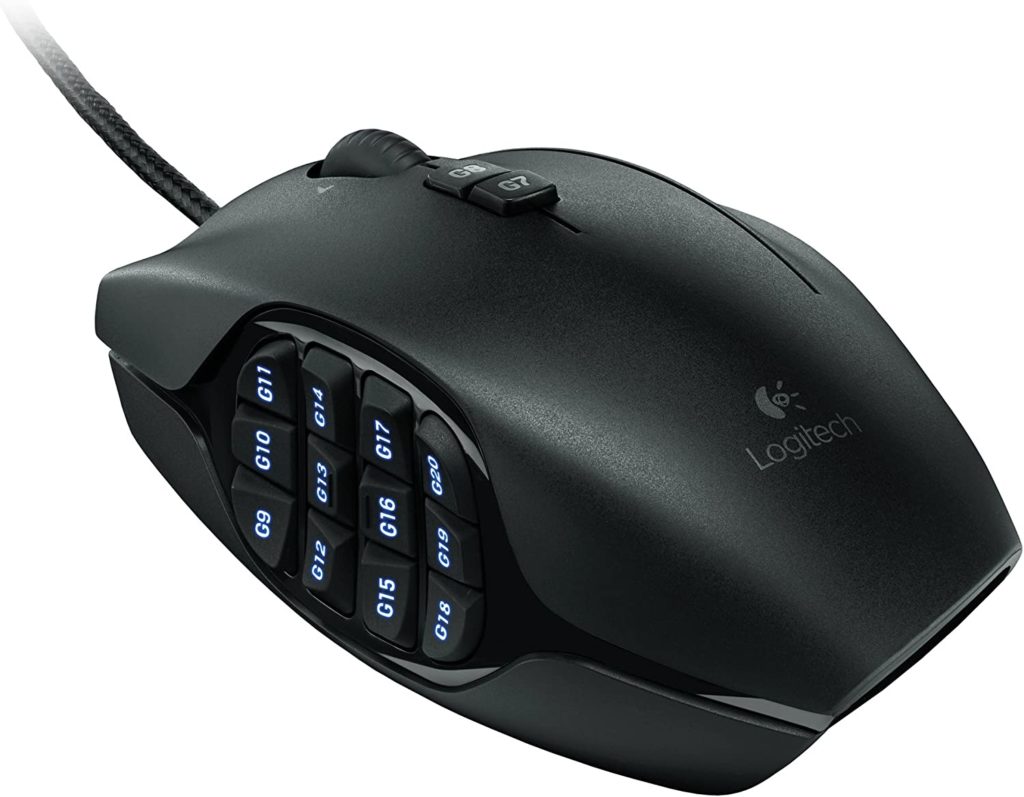
Macros are most commonly set up on a keyboard, since there are so many keys and key combinations to choose from. But mice can also have macros. Many gaming and productivity mice have at least two side buttons (mapped to back and forward by default) that can be specifically programmed.
If you’re interested in other ways to speed up the editing process beyond macros, we have an article about 7 Premiere Pro secrets you need to know!
How to Set up Macros
Unfortunately, mainstream editing software does not include a way to save macros.
However, you will have some access to keyboard shortcuts, which are like a simplified version of macros. Obviously, keyboard shortcuts like Copy and Paste are automatic on computers. Software like Adobe Premiere Pro have a lot of built-in shortcuts. In Premiere Pro, you can click Edit, then Keyboard Shortcuts, to see a map of your keyboard with all of the preset shortcuts. You can also add new keyboard shortcuts for certain functions, and determine which shortcuts are active in which panel. Program-wide shortcuts can be overridden if you are in a certain panel. For example, the G key normally is the shortcut for Audio Gain, but if you’re active in the Capture panel, it is the shortcut for Record.
These keyboard shortcuts are not particularly complex. You can’t automate complex tasks, and instead can only work with pre-set Premiere Pro shortcuts.
For setting up more complicated macros with multiple keystrokes and clicks, you will need additional software.
But even when setting up macros, it’s important to remember that most software doesn’t memorize mouse movement or exactly where you clicked. You may need to remember the keyboard shortcuts for certain actions rather than relying on clicking or dragging the mouse.
Keyboard and Mouse Software
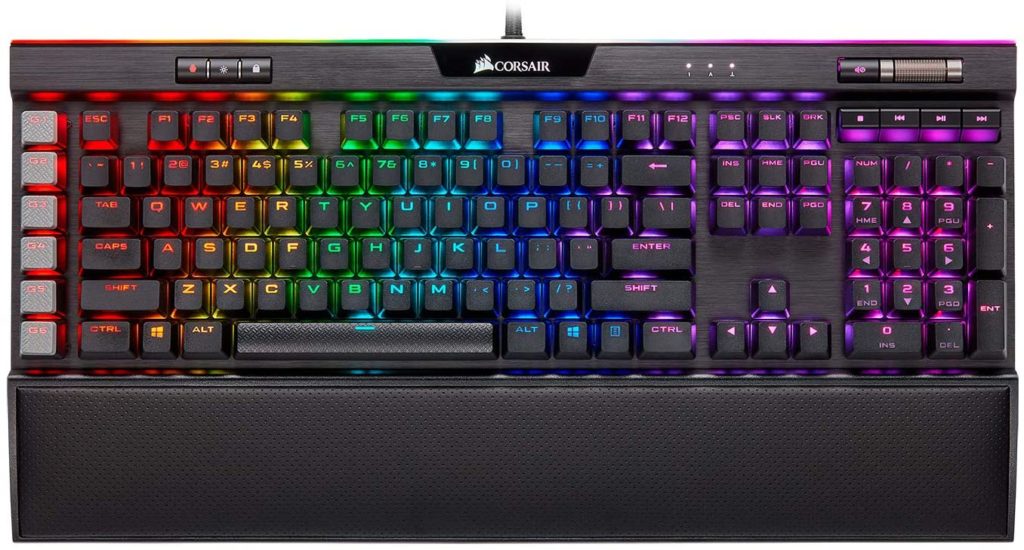
If you have a keyboard specifically designed for gaming or productivity, you may have access to software that includes the ability to easily create macros. Your keyboard may even have dedicated keys devoted for macros, so you don’t have to come up with a complex combination of pressing 3 or 4 keys at once.
One example is Razer, a brand that makes gaming keyboards. Their Razer Synapse software controls things like the backlight color and animation, but also allows for the creation of macros. Just like in Excel, you’re able to record a series of keystrokes and clicks. You can then edit timings and fix any mistakes you made along the way. This same works in other peripherals software for brands like Logitech and Corsair.
Third-Party Macro Software
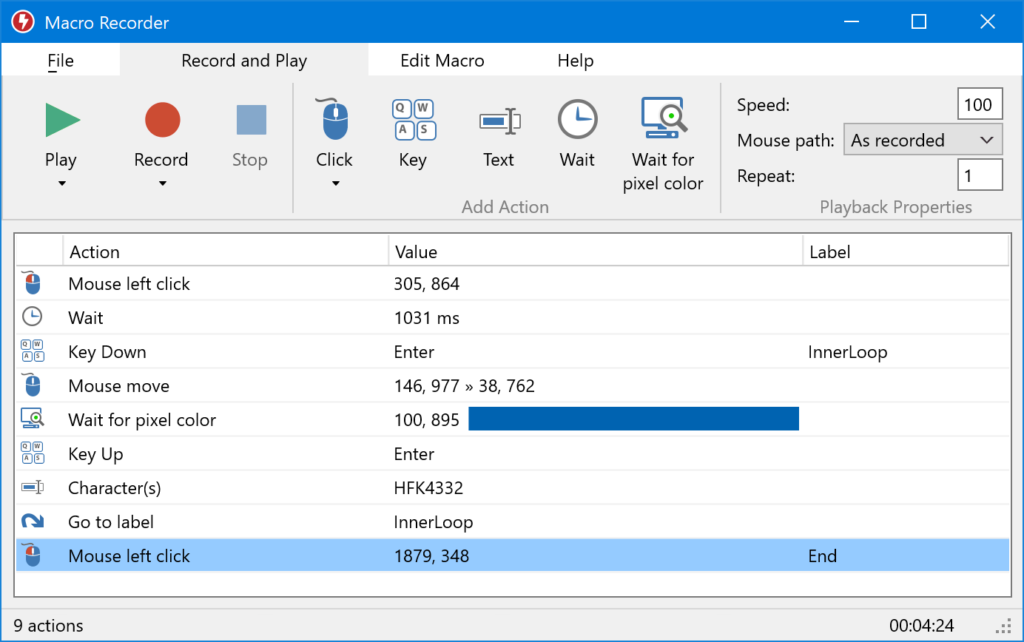
If you don’t have dedicated software for your keyboard and mouse, you can download some third-party software like Macro Recorder. Unlike some of the brand-specific software, this software records mouse movement and scroll wheel actions as well as button presses. This does require you to be very precise, but Macro Recorder lets you adjust mouse movement after the fact, for the most accurate macros! This software is totally free and works with any hardware.
Ideas for Macros
Delete Gaps Between Clips
If you’ve run through a long clip and cut out the parts you don’t want to use, you’ll end up with a sequence with a lot of gaps. In order to delete those, you would need to select each gap and delete the gaps one by one. It’s a great task to make a macro for. Here is the sequence of button presses:
- Shift+; (go to next gap in sequence)
- X (select gap in to gap out)
- Shift+Del (ripple delete)
You’ll need to run this command for each gap of course, but that’s still one button press instead of three button presses and/or clicks.
Easy Speed Change
If you find yourself frequently adjusting the speed of clips to a certain amount, you can easily make a macro that automates that process. For this to work, you will first need to select the clip you want to change the speed of.
- Ctrl+R (Speed/Duration)
- 200 (this can be any number you like, as it’s the speed percentage you’ll be changing the clip to. You will need to enter each digit separately when creating the macro, of course.)
- Enter (applies the speed change)
If you’d like to make the editing process a bit smoother, there are a few additional steps you can add.
- Ctrl+Shift+A (deselect)
- Right arrow (to make sure that the playhead is over the clip)
- Up arrow (Previous Edit – this brings the playhead to the start of the clip again)
- Space (begin playback – this will play the clip back so that you can review your speed change)
Set In and Out Points
- Shift+1 (select the project panel)
- Down arrow (selects the next clip in your project panel)
- Shift+O (opens the clip in the source monitor)
- I (starts In Point)
From here, you can utilize I and O to create in and out points easily, then “.” (period) to insert the clip into the timeline. This lets you easily get a rough timeline with the clip selections you want to use, while cutting out all the junk at the beginning and the end. If you want to continue using keyboard shortcuts to create precise in and out points, you can use J (play backward), K (pause), and L (play forward) which are all next to each other on the keyboard.
Built-in Hotkeys
Premiere Pro has a lot of hotkeys built in, and their existence allows for these macros to function without mouse movements. If you’re trying to do something a little more simple, you should check through Premiere’s keyboard shortcuts. You can edit which key activates the command, as well.
Obviously these hotkeys will vary from program to program, so check your editor’s hotkeys and shortcuts settings to adapt these macros to different programs.
We hope that you learned about the power of macros and got some ideas for making some of your own! Macros can really speed up the boring and tedious parts of editing with a little memorization and muscle memory! Cover photo credit: Nicole Geri


