How to Add a Freeze Frame in Premiere Pro
There are plenty of reasons you might want to take a freeze frame in Premiere Pro. Between highlighting a specific moment, filling a gap, or some other reason. I use them all the time when editing Filtergrade videos. Sometimes my voice over is longer than my screen recording, so I’ll create a freeze frame on the moment I’m talking about and keep that on screen for as long as I need it to be there. If you’ve been inserting freeze frames by saving and importing a screenshot, this video should be a game-changer.
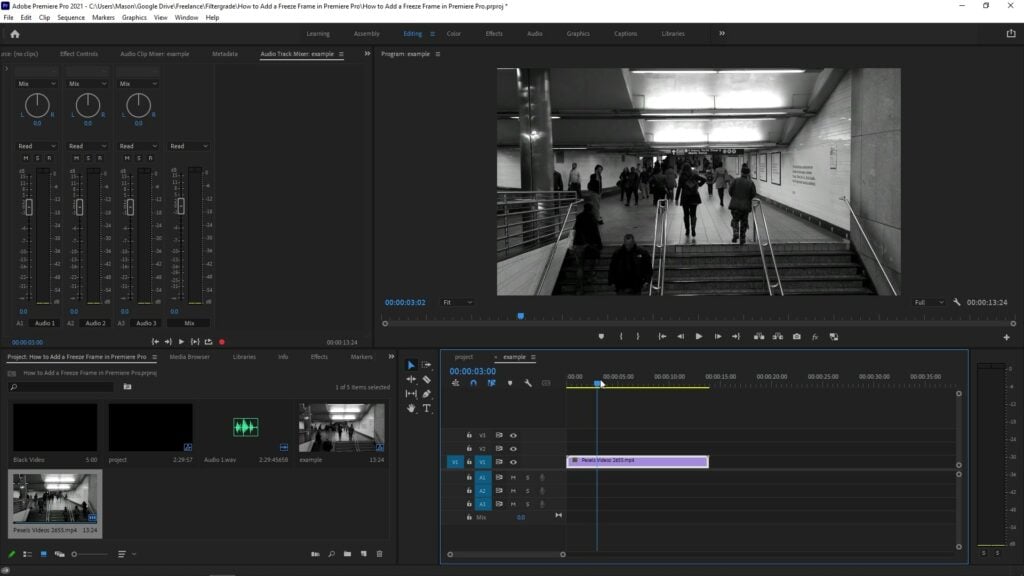
Watch the full tutorial:
Before adding your freeze frame, we need to make sure that the frame hold options are set to what works best for you. You can right-click on a piece of footage, click on Frame Hold Options, and select whether the freeze frame is chosen from the source time code, sequence time code, in and out point, or playhead. In most cases, you will probably want to choose playhead or source time code, the second of which will automatically choose based on where the playhead is anyways, but with the ability to adjust the exact time code if needed.
There are now two main ways to create a freeze frame.
Navigate your playhead to the exact frame that you want to start the freeze-frame on. Right click and select Insert Frame Hold Segment. At the playhead location, your footage will be split and a two-second frame hold will be added in between the two halves of the clip. You can always use the Ripple Edit tool to adjust the length of this still image as you can with any image file.
The other option is to add a frame hold. Move your playhead to the frame you want to freeze, then right-click and select Add Frame Hold. This will insert a frozen frame at the play head and the remainder of the clip to the right of that point will be turned into the selected frame. Only use this method if you don’t plan on using the remainder of that clip, otherwise you should use the Insert Frame Hold tool.
Both of these options are considerably faster than saving and importing a screenshot, and let you easily select the exact frame you need. If you learned something in this video, let us know in the comments, and make sure to like and subscribe so you don’t miss future Premiere Pro tutorials.


Can I do this. On my mobile device. How do I right click on a mobile I phone?
I don’t see the hold frame option where is it. I also want to expand freezer crane for more seconds. It does not let me pull the bar over.