How to Create Lightroom Presets

Adobe Lightroom is the modern day darkroom. Photographers everywhere now use Adobe Lightroom to make their photos into their photos by transforming raw images into colorful masterpieces.
One way to always draw back on your old color tones and photo edits is to create Lightroom Presets. Lightroom Presets are essentially photo filters that you can save and use on any of your photos in Lightroom. Creating them is super easy and will help save you tons of time while editing. PLUS you can even earn money by selling your Lightroom Presets on our marketplace!
Today, I’ll be going over how to create a warm, retro look in Adobe Lightroom. Then I’ll show you how to save your Lightroom Preset to your Lightroom Folders and also how to export your Lightroom Preset to your computer or hard drive.
Continue below to learn how to create your own Lightroom Presets!
Creating Your Own Retro Tone Lightroom Presets
As many of you may know, the first step to any edit in Lightroom is to import your photos. I usually just drag-and-drop my photos into the library when I’m ready to start.
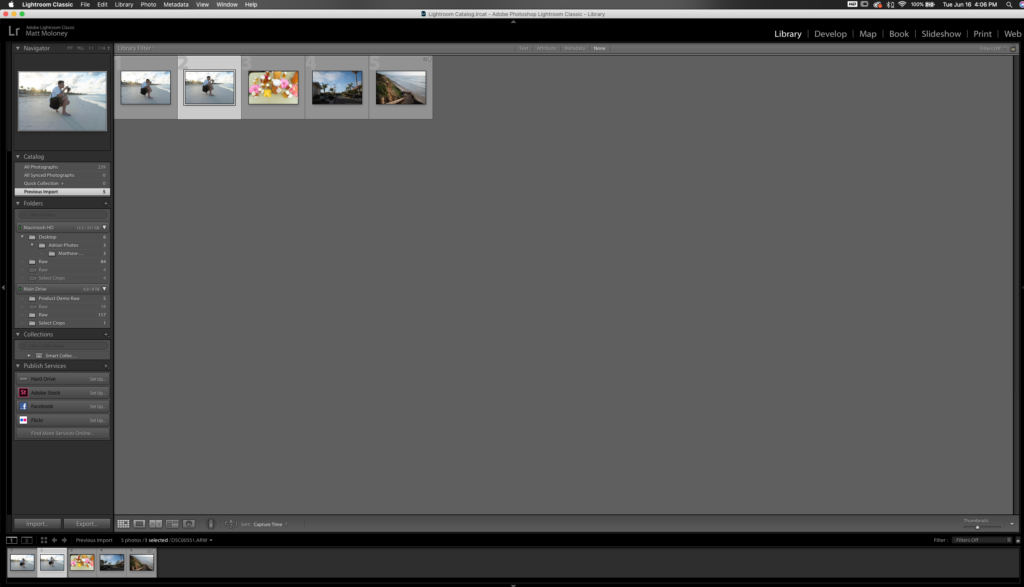
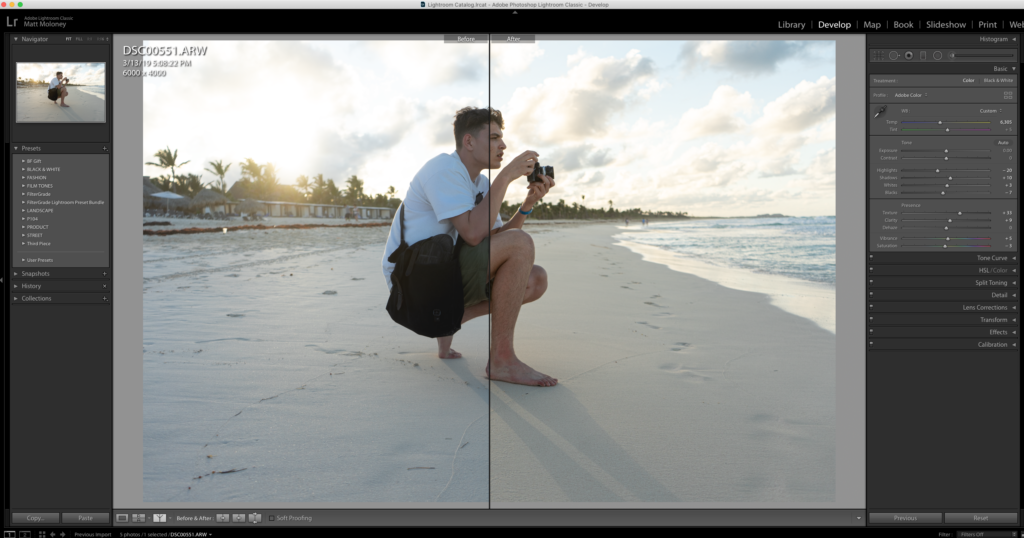
Once my photos are in Lightroom, I switch over to the Develop Tab to start my editing process.
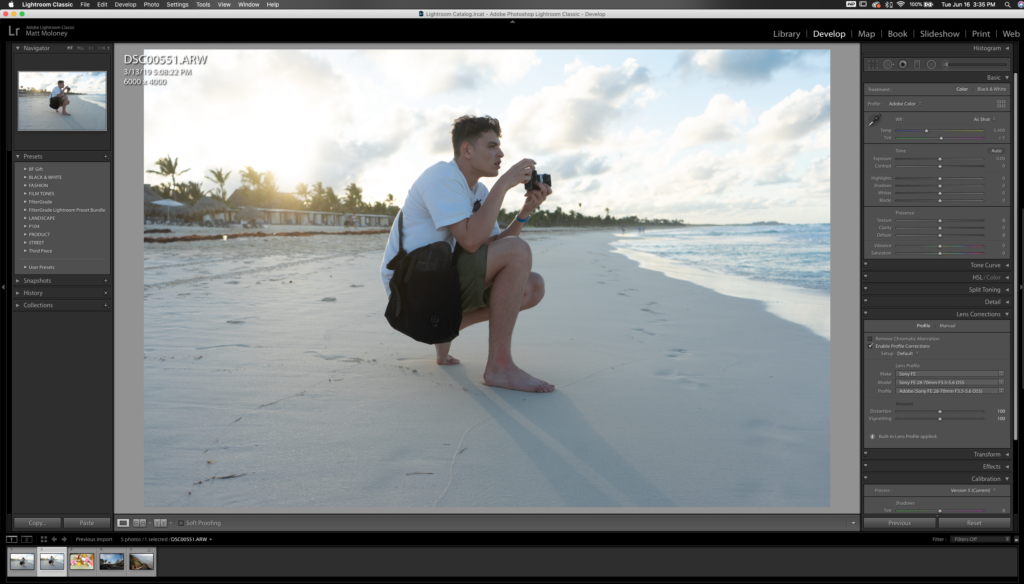
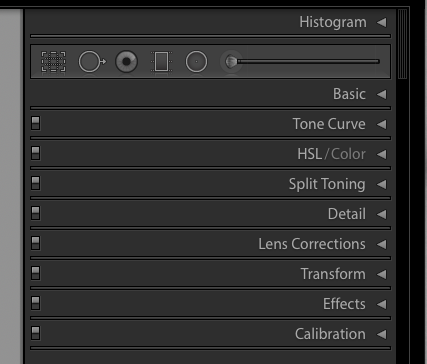
Now is when the fun starts. On the right-hand side of the screen you can see a variety of the different editing drop-down bars that can all be used for their own specific purposes.
Basic Adjustments
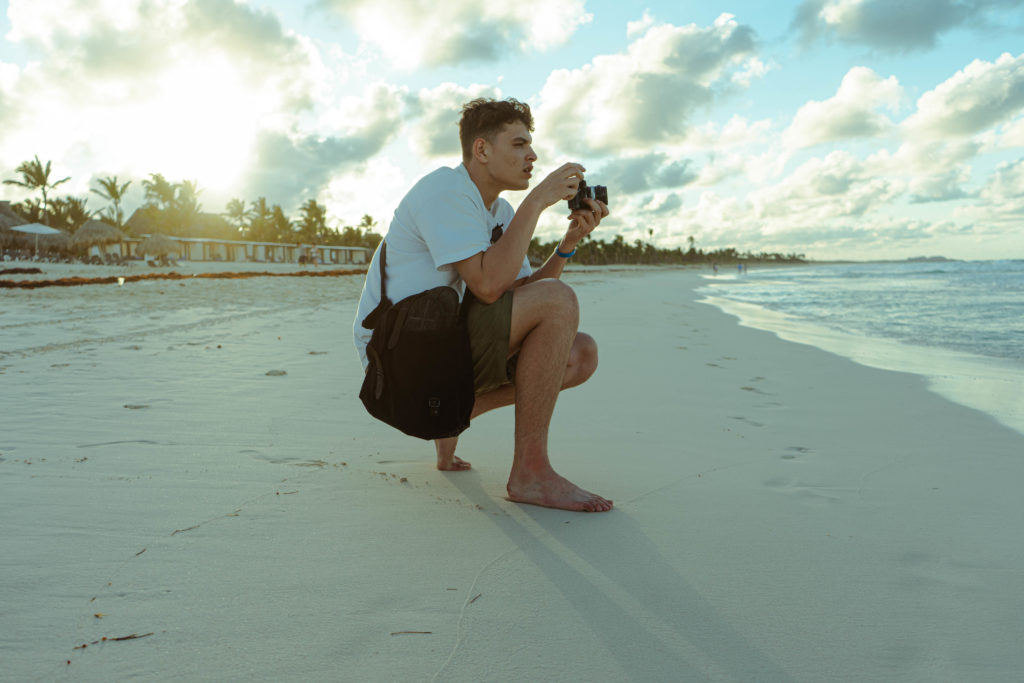
I like to start with the Basic drop-down section to start my edit. For this photo, I’m looking for a warm, vintage, beachy look, so let’s keep that in mind while creating our Lightroom Preset.
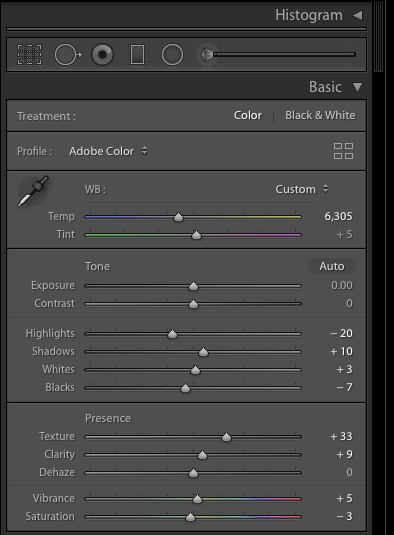
I like to start by changing the temperature and vibrance + saturation sliders to the colors of my original thought for the edit (retro, beach). Once I have the color looking pretty close to what I like, I edit the exposure/contrast if the photo needs it.
After I make those color tweaks, I like to edit the highlights + shadows to fit the style of my edit. For this case, I took the highlights down so I could see more of the detail in the clouds, and I bumped the shadows up so that you can see more detail in the skin tones.
This basic adjustment has the photo looking pretty good so far, but I think we could take it a little further and make it look really cool.
Tone Curve Adjustments
The next thing I like to do when creating my custom Lightroom Presets is to play around with the Tone Curve tool. The Tone Curve tool is one of those things that is hard to explain in words, but once you start to use it and see how it can manipulate your photos, you can really start to bring your photos to life.
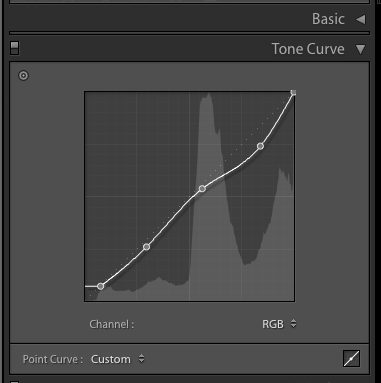
For this edit, I played around for a little bit to find the best balance between detail in my skin tones and detail in the clouds.
This is always something you need to be cautious of because prioritizing one over the other can cause your Lightroom Presets to overexpose or underexpose certain parts of photos.
Color Adjustments
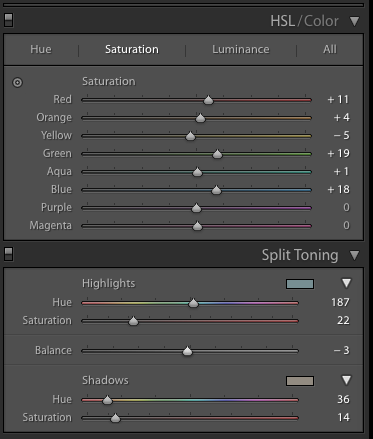
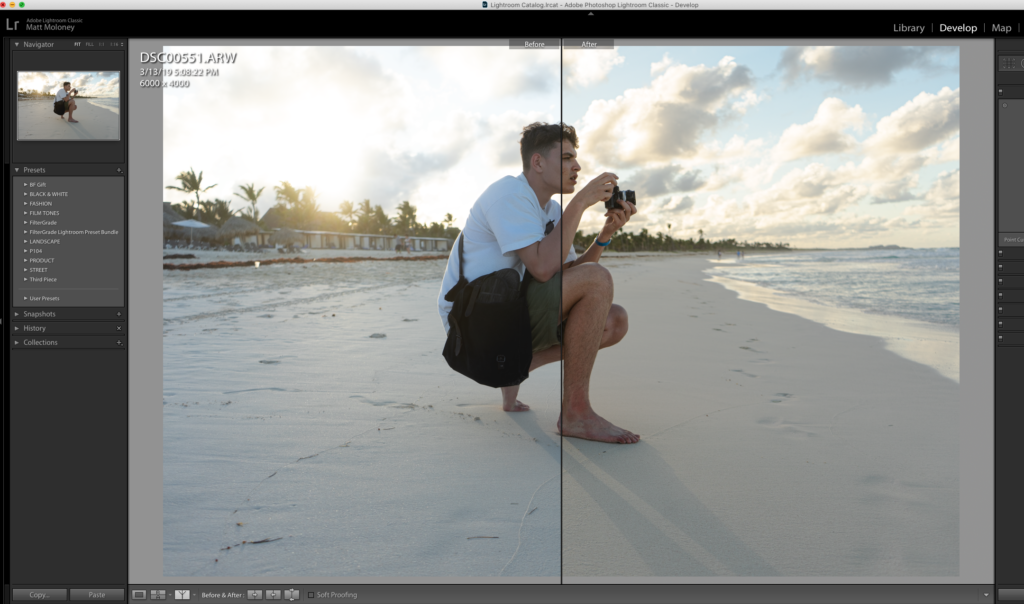
My last step for basic warm tone edits like this is to adjust the colors using the HSL/Color Sliders and the Split Toning Tool.
For edits like this, with skin tones, I like to bump the reds up to bring out the skin colors. I also like to bring up the orange a green a bit to make the colors pop and feel more lively.
Lastly, I adjusted the Hue/Saturation sliders to make them fit the color I was looking for!
Saving Your Lightroom Preset
Now that you finished your edit, it’s time to Save your Lightroom Preset. Start by clicking on the ‘+” icon in the Presets tab on the left-hand side of your screen.
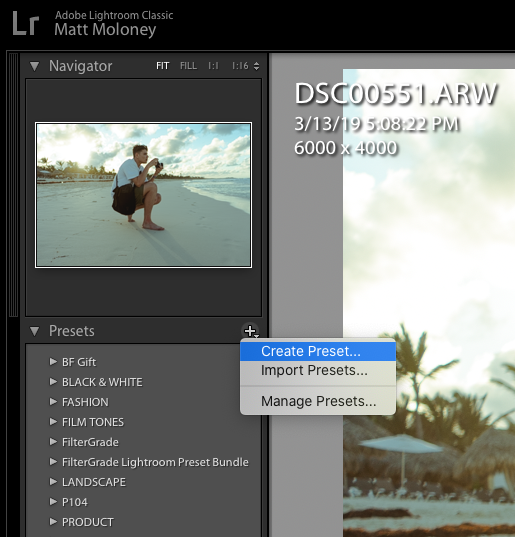
Select ‘Create Preset‘ and then a pop-up box like the one below will show up.
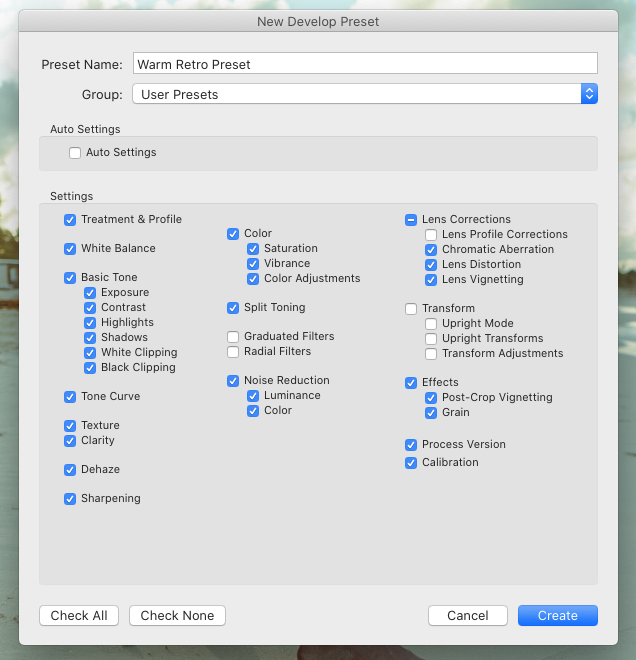
After the pop-up appears, feel free to rename your preset and select the group that you’d like to add your new preset to. Hit ‘Create‘ and you’re all done. Now look into the folder that you saved it to and you have your own Lightroom Preset!
Exporting Your Lightroom Preset
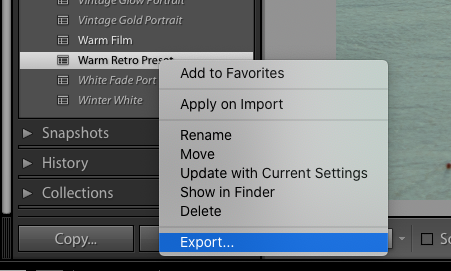
If you’re interested in exporting your Lightroom Preset so that you can sell it, right click on the Lightroom Preset, and select ‘Export‘.
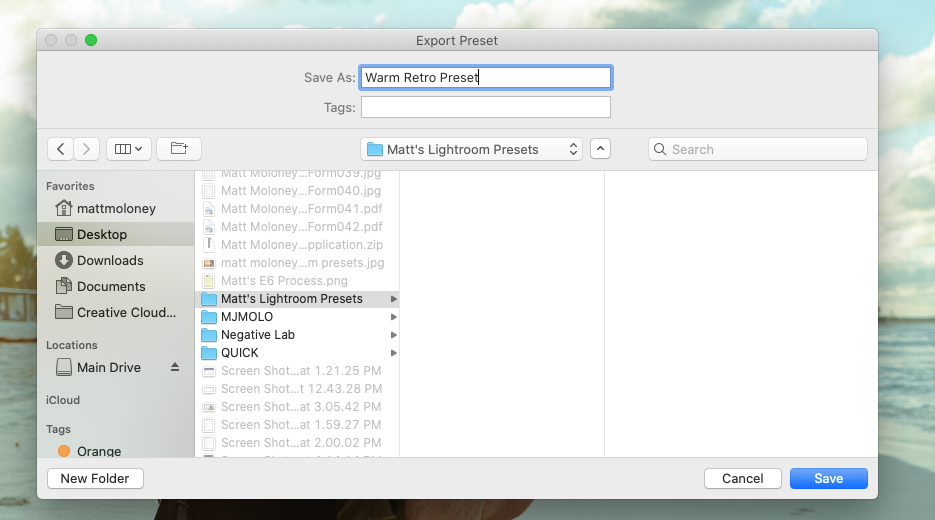
Once you select export, a finder window will pop-up where you can save your Lightroom Preset to any folder on your computer or hard drive.
Now you’re done! You’ve created your very own Lightroom Preset and even exported it to your computer in case you want to sell them with FilterGrade!


