Lightroom Tip: How to Fade Lightroom Presets

We all love Lightroom Presets … that much is inarguable! Presets are the ultimate shortcut, as they empower you to drastically improve any image, taking it from ho-hum to stellar with just one click. In spite of their usefulness, we’ve also been able to appreciate the single-biggest problem with built-in presets: Sometimes, they’re just too bright.
Even if you love the effect, overall, the image will still be too strong thanks to the preset. So how can you fix this? Certainly, there has to be a way to fade Lightroom Presets and adjust their opacity. There is!
You have two choices: You can either stay inside Lightroom, or you can use an external solution to adjust the Lightroom preset percentage.
NEW: You can now use Lightroom Presets on your phone with the Lightroom CC Mobile App! Find out how in this tutorial.
Lightroom-based Solutions
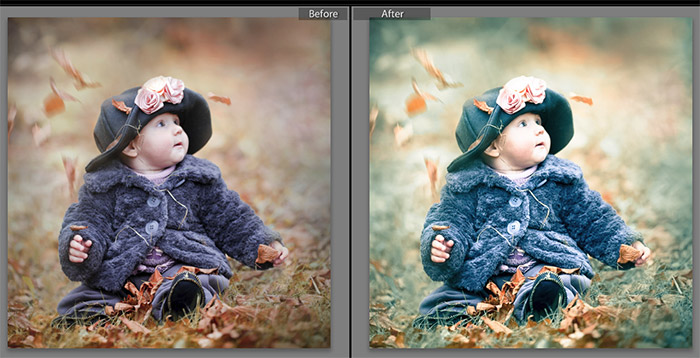
Let’s go with your in-photo-processor solution first. The first is very old-school because you have to manually inspect your image, go through it pixel by pixel, and then accordingly adjust the various sliders to dampen your image. That doesn’t sound very efficient, but it’s an option!

Image From The Photo Argus
Next, you can also import both an edited and non-edited version of your image right into Photoshop, this time, put them together, and lessen the edited version’s blurriness until you’re satisfied with your results.
Now, all this is well and good, but the only problem is that both in-photo-processor fixes take too long. Fortunately for you, though, there’s a third-party developer who has noticed the dilemma of these inefficient solutions and offered a faster solution!
The Fader
Enter the preset opacity slider designed specifically for Lightroom, called, appropriately enough, The Fader. This is the next, best thing to having an actual “fade” command inside of Lightroom because it functions as a preset fader.
This preset is very helpful since it allows you to select how much of a preset you want to apply to images. You even have the option to go all the way to 150%, essentially allowing you to over-process your over-processing. The plugin simply applies a faded preset to images, calculating new values internally and automatically manipulating all the different sliders for users.

Image From Capture Monkey
Simply download and then install this plugin. Now, choose an image and navigate to the File menu, where you’ll choose Plug-in Extras. Here, you just click on Fader, which will bring up a dialog box that lets you pick the specific preset you want to lessen its opacity.
That’s certainly easier and faster than the alternatives Lightroom itself gives you for fading presets!
Lightroom Tutorials & Resources
Additional tutorials and free resources to help you learn photo editing in Adobe Lightroom.
-
How to Create a Soft Matte Effect
-
Free Cityscape Lightroom Presets
-
How to Create Lightroom Brushes
-
View all Mobile Presets


