How to Make Photoshop Brushes from Your Photos

Despite what they’re most commonly used for, Photoshop brushes are not just for adding strokes of color or dodging and burning. They’re actually quite dynamic and extremely useful tools. In fact, you could say that brushes are the unsung heroes of Photoshop. The software comes with a standard set of built-in brushes in different sizes, shapes, and densities, that are great for getting the basics done. However, that’s not where Photoshop brushes really shine.
The best part about Photoshop brushes is what they allow you to do. You can use almost anything, including an image, to make a unique and completely customized brush that’s all your own. And, this is where the creative side of brushes comes in. Add textures, shapes, stamps, and other unique designs to your photos with just a flick of your brush. They make it easy to transform photos and provide an undeniable personal touch. And, they’re extremely easy to make. Here’s how to make two different Photoshop brushes, from a photo, in six simple steps.
Stamp Brush
Step 1
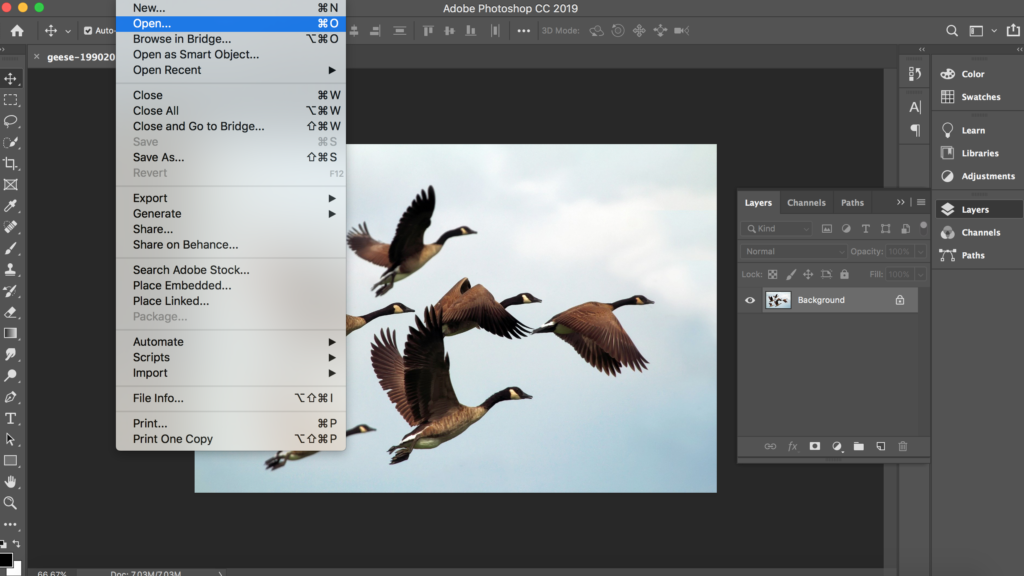
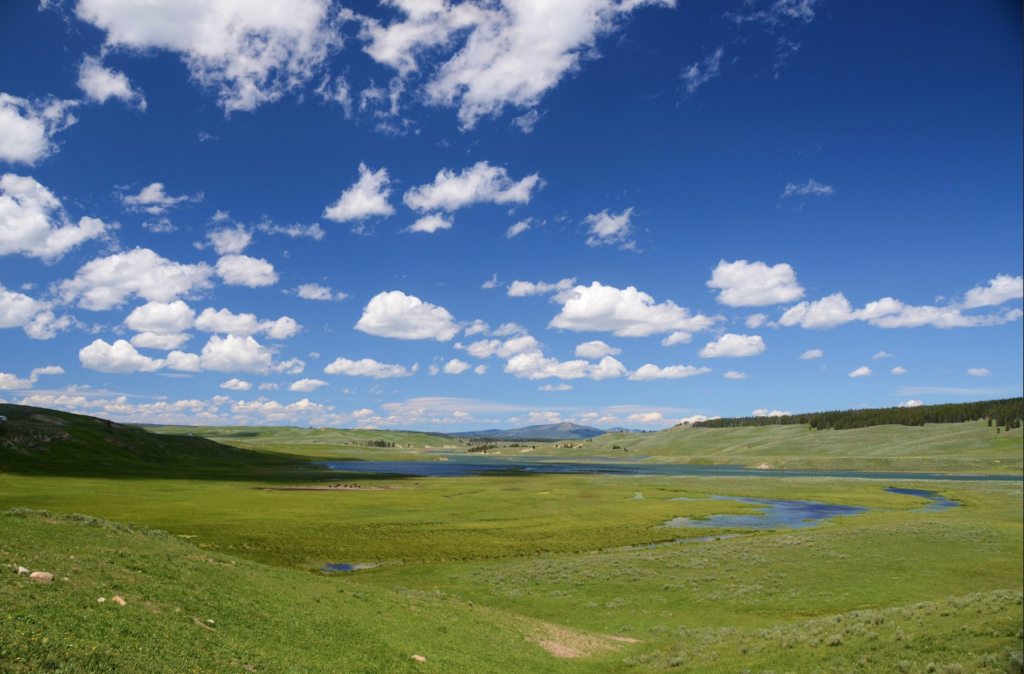
Open the image you want to make the brush of – birds, trees, anything really. – in Photoshop. The best images to use are ones where the subject is isolated on a plain background, in the case of birds a clear blue sky is perfect. If you want to make brushes from images of trees, try to use images where the trees are against a plain uncluttered background.
Step 2

Unlock the background layer to make it editable. Although we typically like to make a copy and work from that in order to preserve the original image, in this case, we do not want to preserve the image. Make a new blank layer and move it under Layer 0.
Step 3
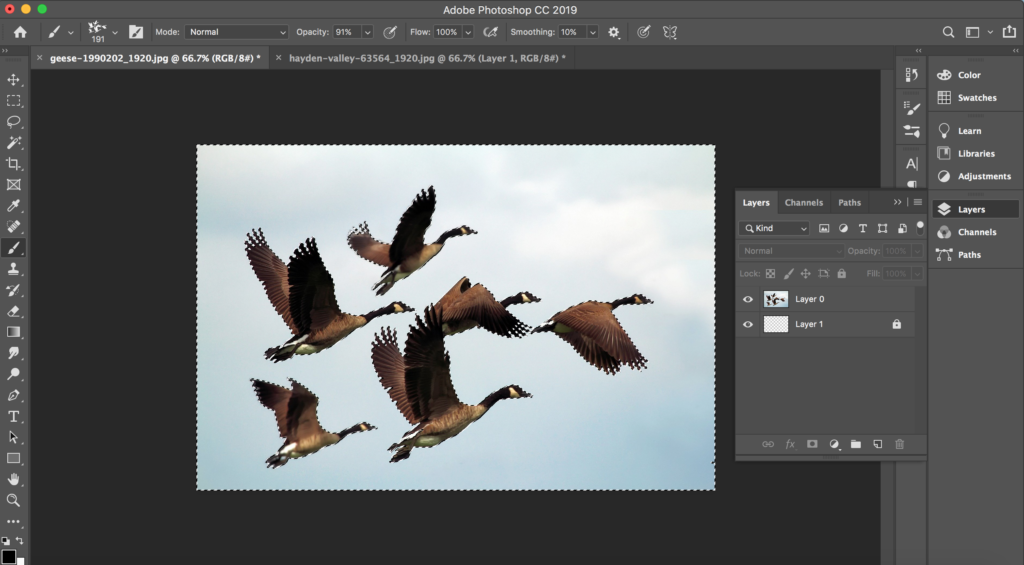
Time to get rid of the background. Using the Magic Wand tool, simply click on the background of the photo. If the tool selects the entire image, double-check to make sure that you have the image layer selected. Play around with different tolerance levels until you find the option that grabs exactly what you want.
Pro tip: For more complicated backgrounds, we suggest using the Quick Selection tool and refining the selection manually.
Step 4
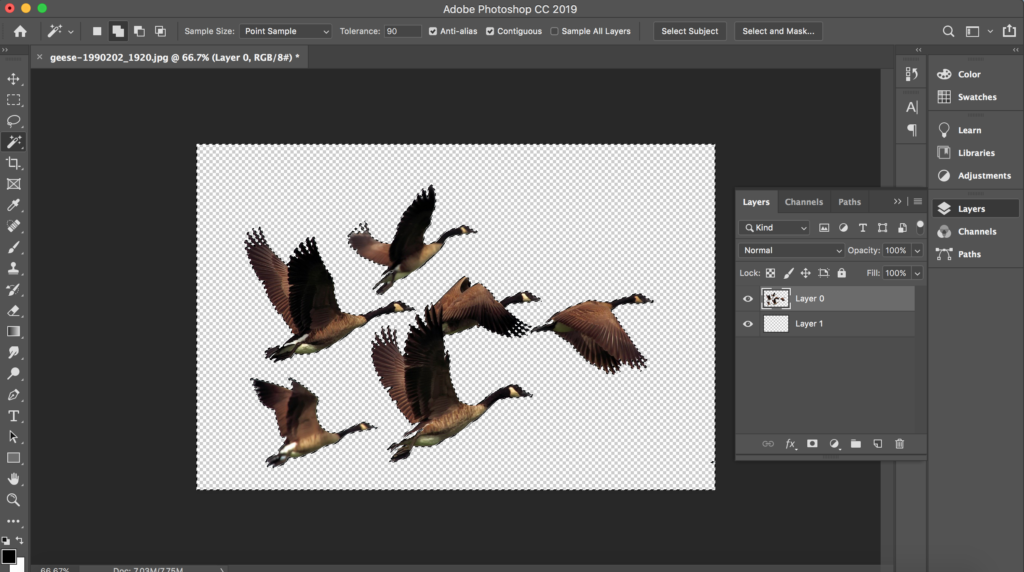
Making sure that the image layer is still your active layer, press delete on your keyboard to remove the background. Press CTRL + D to remove the marching ants. Your image should now look like the one above.
Step 5

Using either the rectangular marquee tool or the freehand lasso select your subject. Which tool you use depends on your subject. We went with the marquee because the birds are in a relatively confined area. Pro tip: The freehand tool allows you to create a much tighter brush.
Step 6
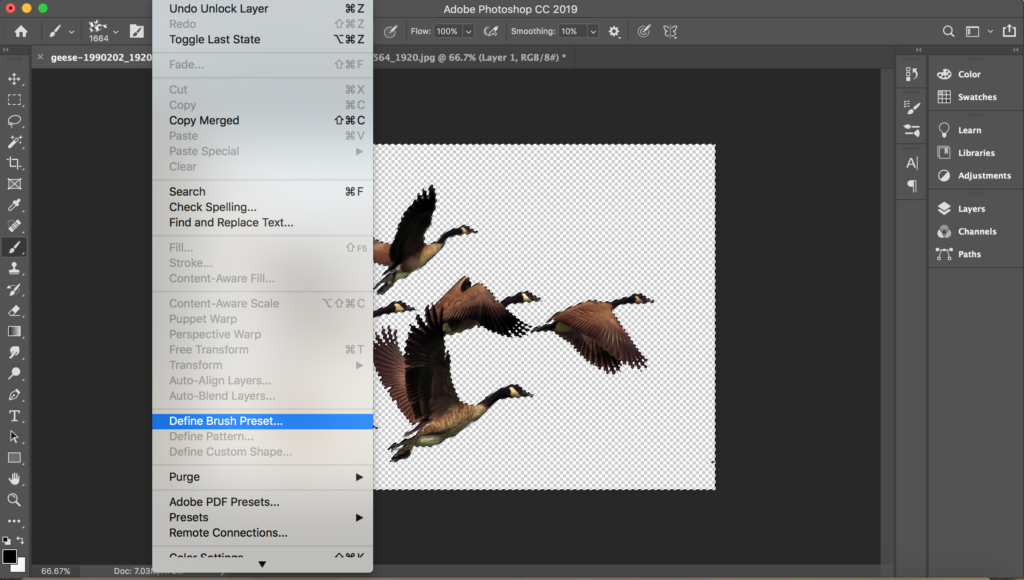
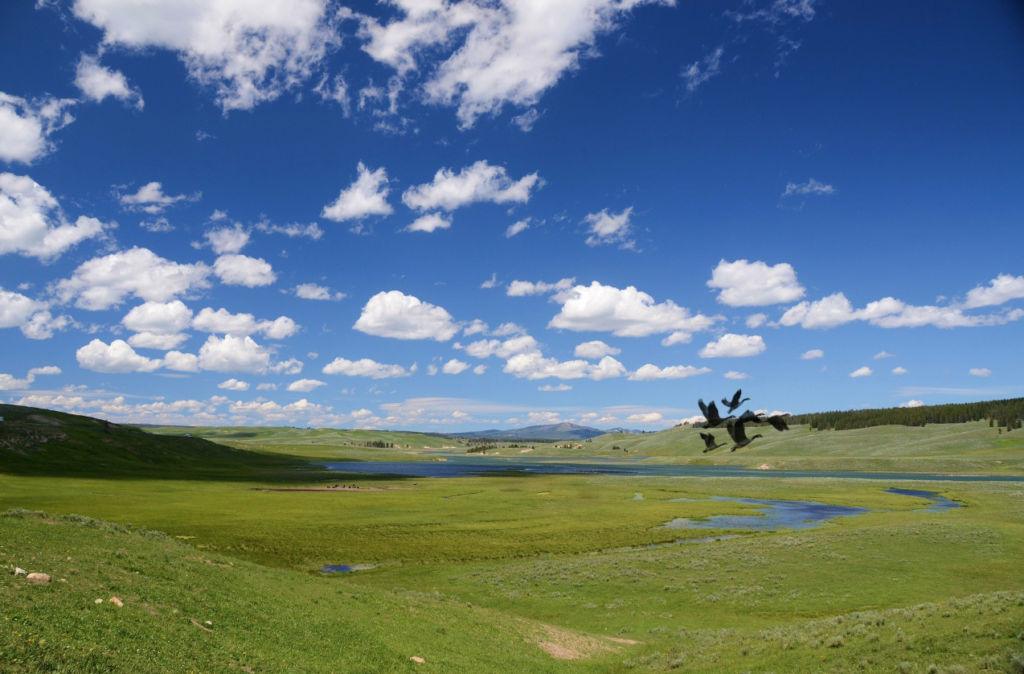
Once the subject is selected, go the edit menu and click on “define brush preset.” Name your brush, and click okay. Now go into your Brush Preset palette by clicking on the brush tool, and you’ll see your newly created brush at the bottom of the list, ready to use.
Pro tip: Anytime you switch brushes, create a new layer so that you can edit it without having to start over.
Texture Brush
Step 1
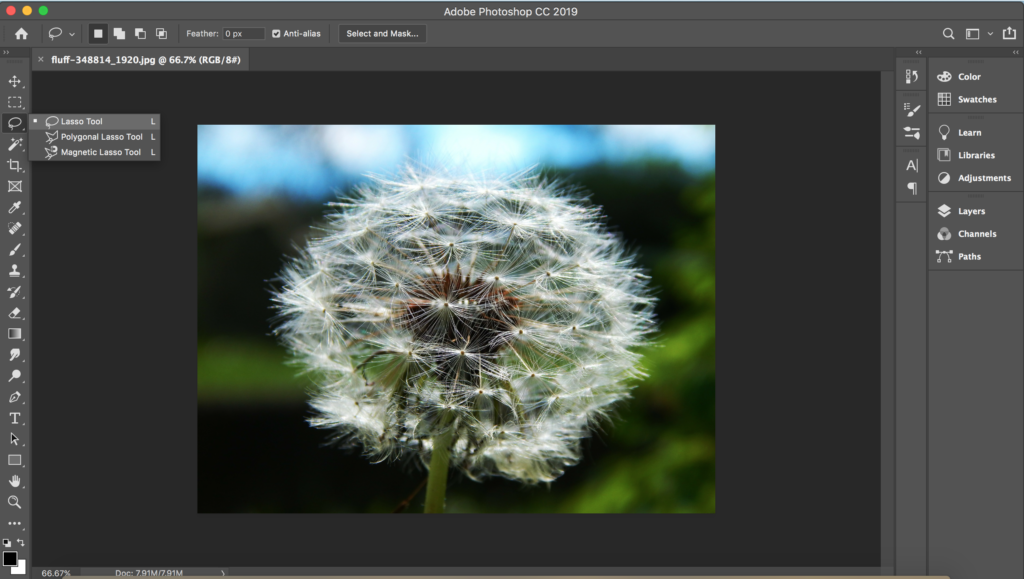
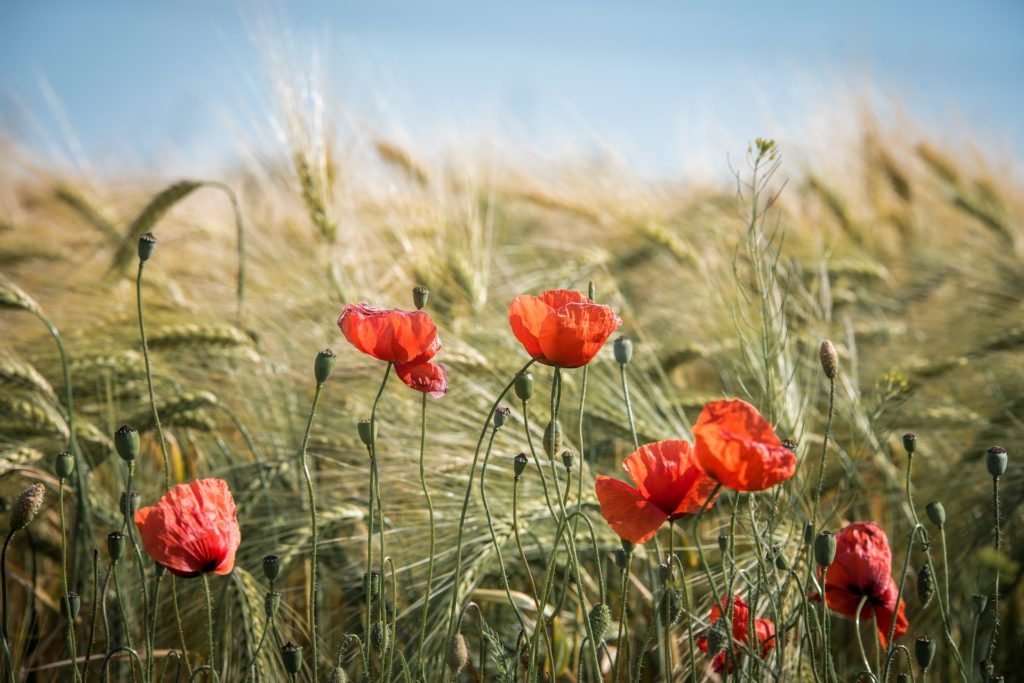
As with the other brush, first open your photo in Photoshop. For a texture brush, you want to look for a photo with a subject that’s relatively easy to isolate and one that isn’t too defined. You can take a picture of a cloud with your cell phone, look for watercolor images, or use a stock image.
Step 2
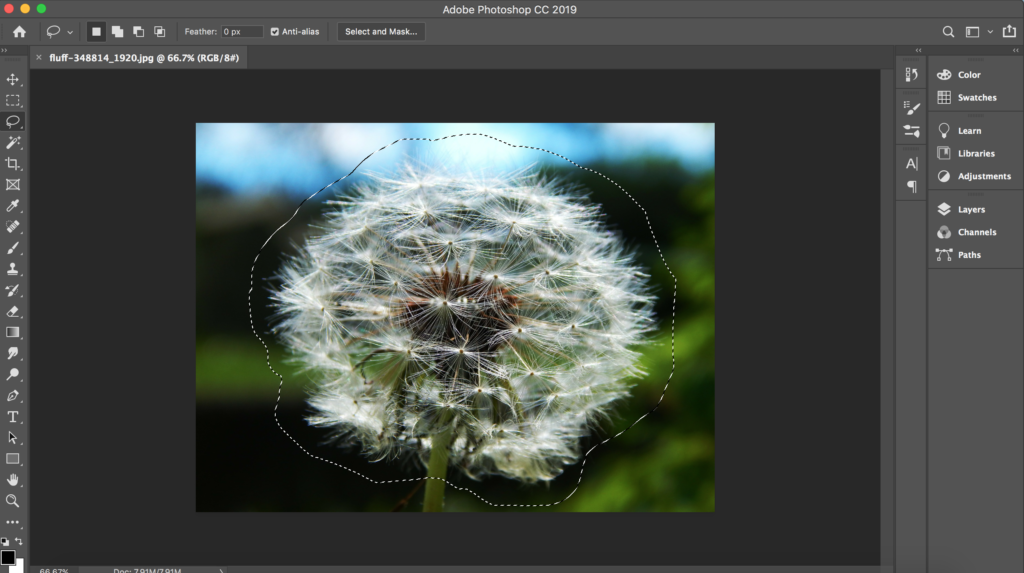
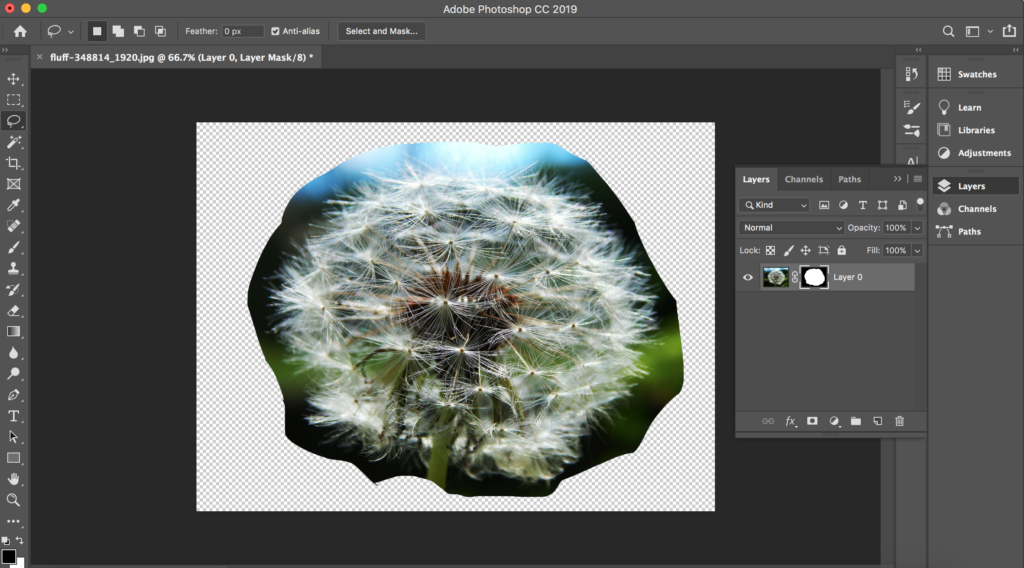
Select your subject. There are many, many different tools that will produce the same results, but for the sake of simplicity, we used the lasso tool to quickly create an outline and select the dandelion. Then isolate it from the background quickly by adding a layer mask. To do so, just click the “add a vector mask” button at the bottom of the layers panel.
Step 3
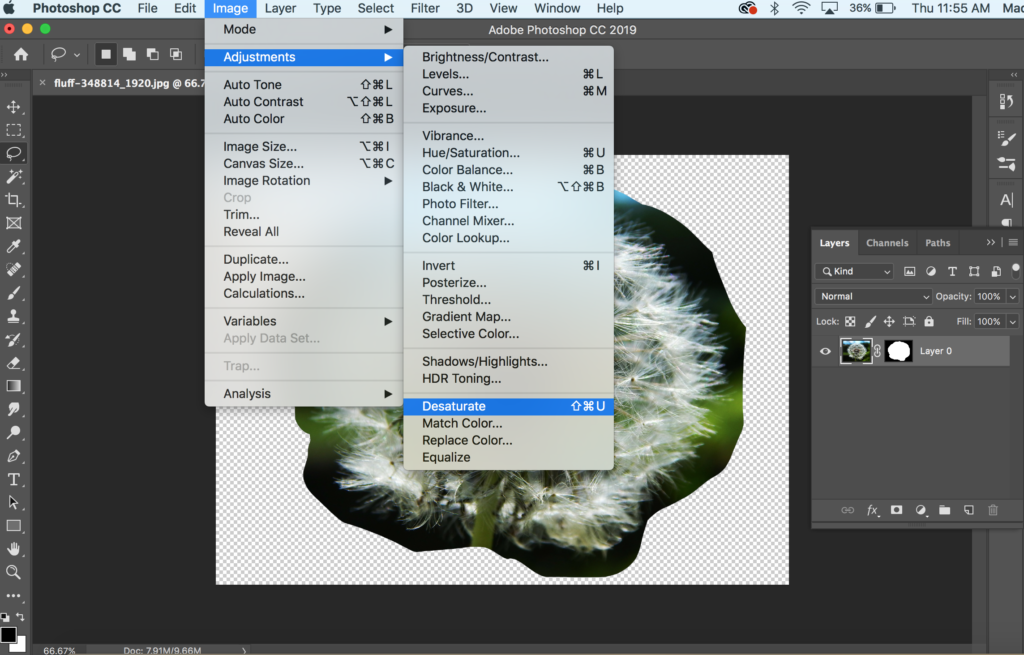
Now, we need to desaturate our image and invert the colors. The dark colors will eventually become our brush, so make sure that the silhouette you want your brush to have is dark. We will fine tune this in the next step, so don’t worry if it doesn’t look perfect. To desaturate the image, make sure that you have the layer thumbnail selected (not the mask). Then go to IMAGE > ADJUSTMENTS > DESATURATE.
After you desaturate your image, you’ll need to invert the colors. When you give Photoshop the command to define a brush pattern, it will only pick up the light colors. So, if you’re subject lightly colored or white, like ours, this step is absolutely necessary. Simply go to IMAGE > ADJUSTMENTS > INVERT.
Step 4
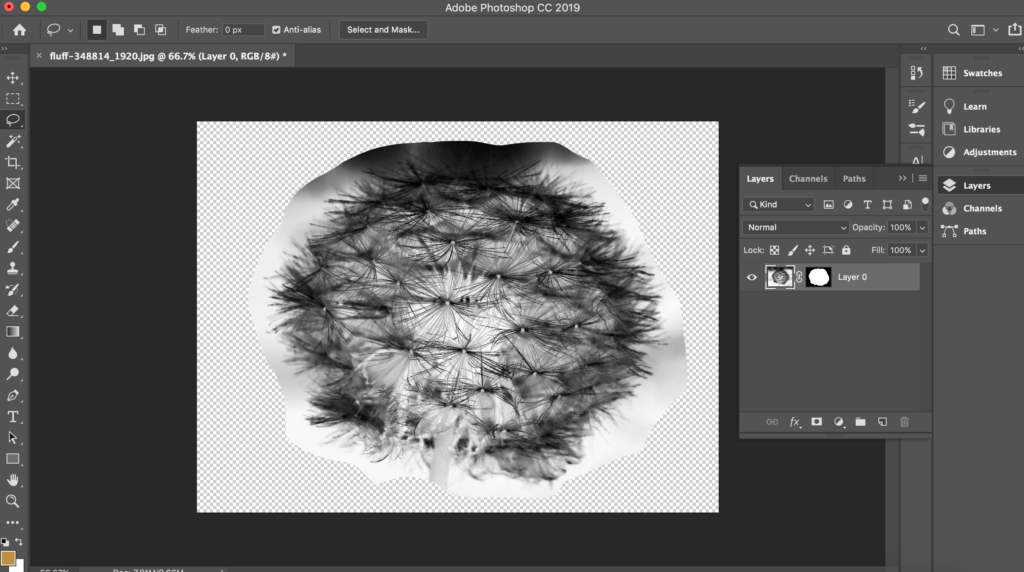
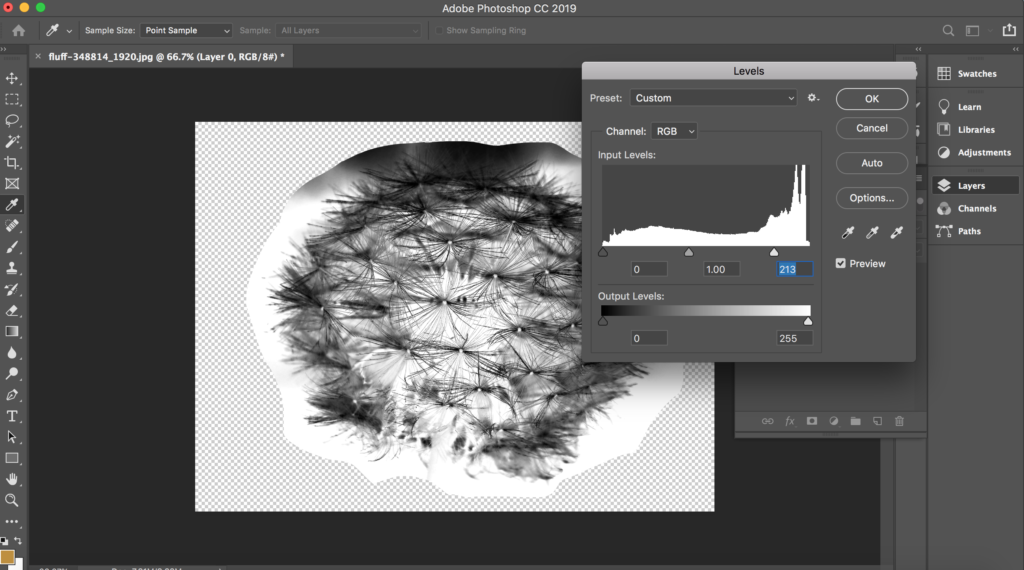
At this point, your image should look something like the one above. And, as you can see, there are a lot of different values remaining. We want to make this as black and white and possible so that when we create the brush, we get the shape and texture we’re aiming for. In order to do that, we will need to adjust the levels within the image and then clean it up further with the Burn and Dodge tools. So, go to IMAGE > ADJUSTMENTS > LEVELS. Using the slider furthest to the right, adjust the white point until you find something looks good.
Pro-tip: Do not overdo it. Harshly defined edges will look awkward once converted into a brush preset.
Step 5
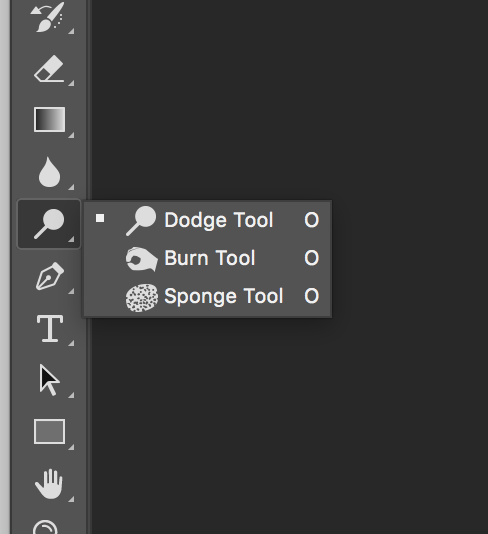
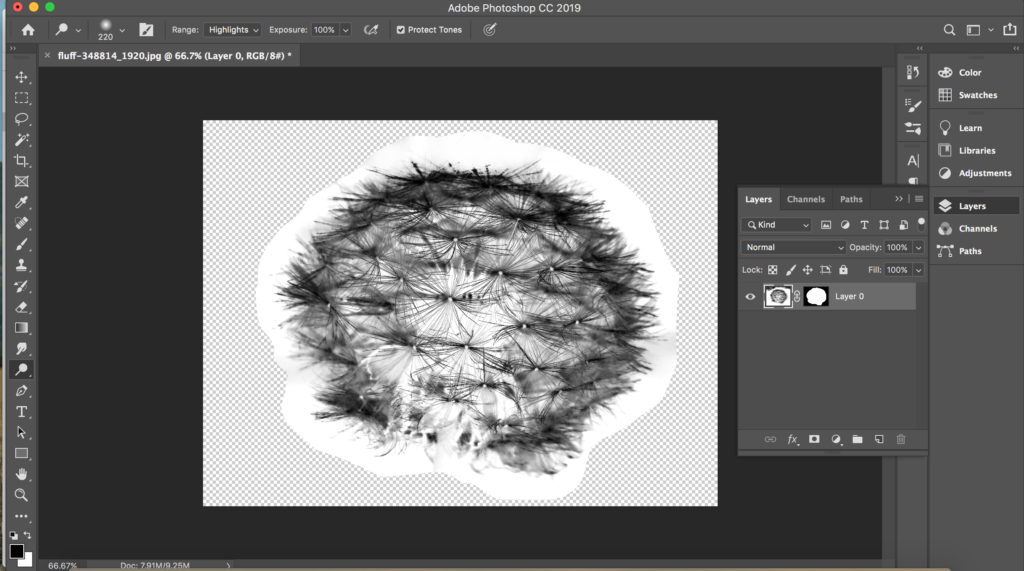
Now, you can use the burn and dodge tools to lighten and darken different spots in your image. We used the dodge tool at the top of our subject to lighten it and the burn tool in the center to get rid of the harsh edges. Don’t forget to use the different range options, found at the top menu, to affect the mid-tones and highlights as well. If you feel that lines in the image are still too harsh, you can always make further adjustments with the blur tool.
Step 6
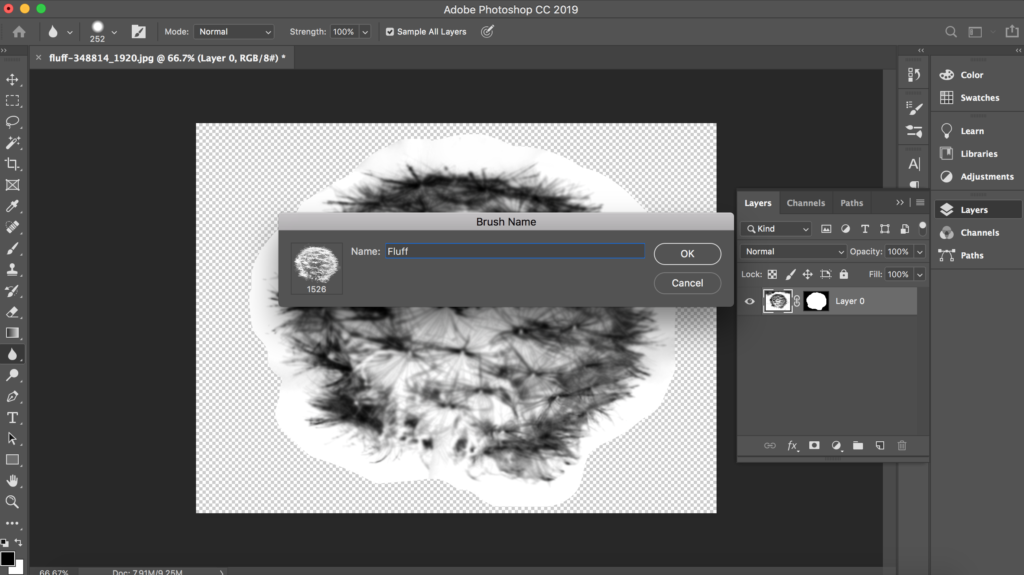
Once you’re happy with your selection, it’s time to actually create the brush. EDIT > DEFINE BRUSH PRESET. Name your brush and select OK. Now that you have defined your brush preset, it’s time to adjust how it behaves. Making sure that your new brush preset is selected, open the Brush Settings by selecting the folder icon next to the brush. What you want will depend on how you change these settings, but we recommend playing with Shape Dynamics, Scattering, and Transfer.
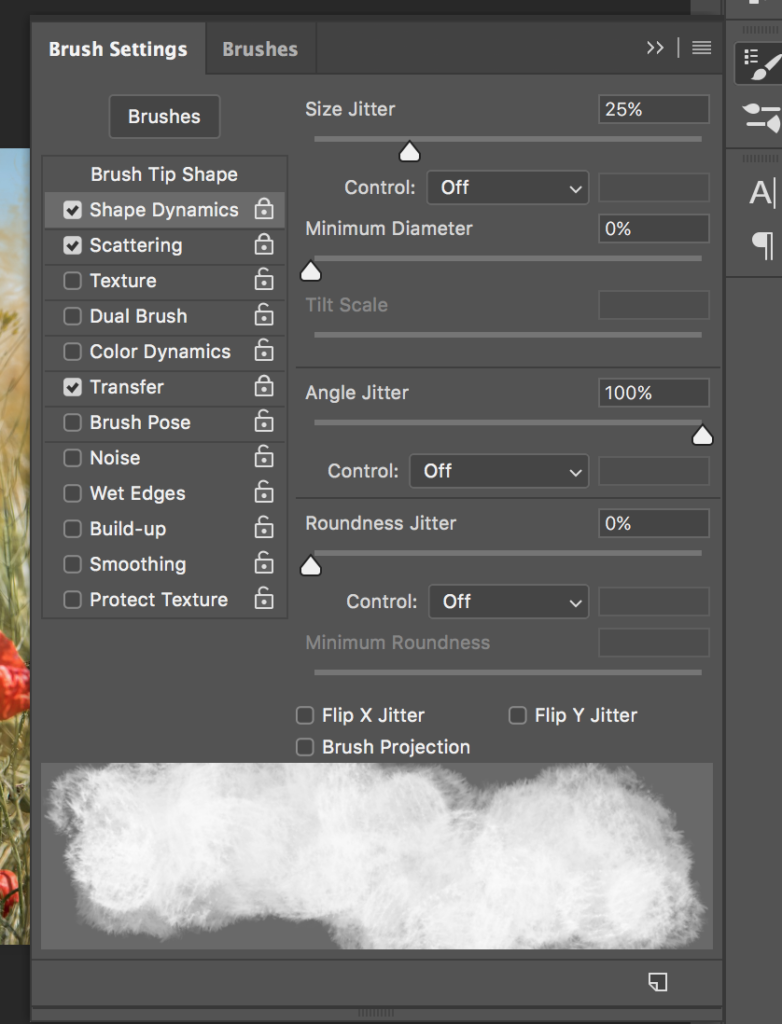
Voila, your very own texture brush, perfect for adding a cool vintage feel or interesting consistencies to your photos. Play around with different colors and opacities and you’ll be a Photoshop brush bro in no time. With nothing but an image, you can create a Photoshop brush that adds a unique element to any image.
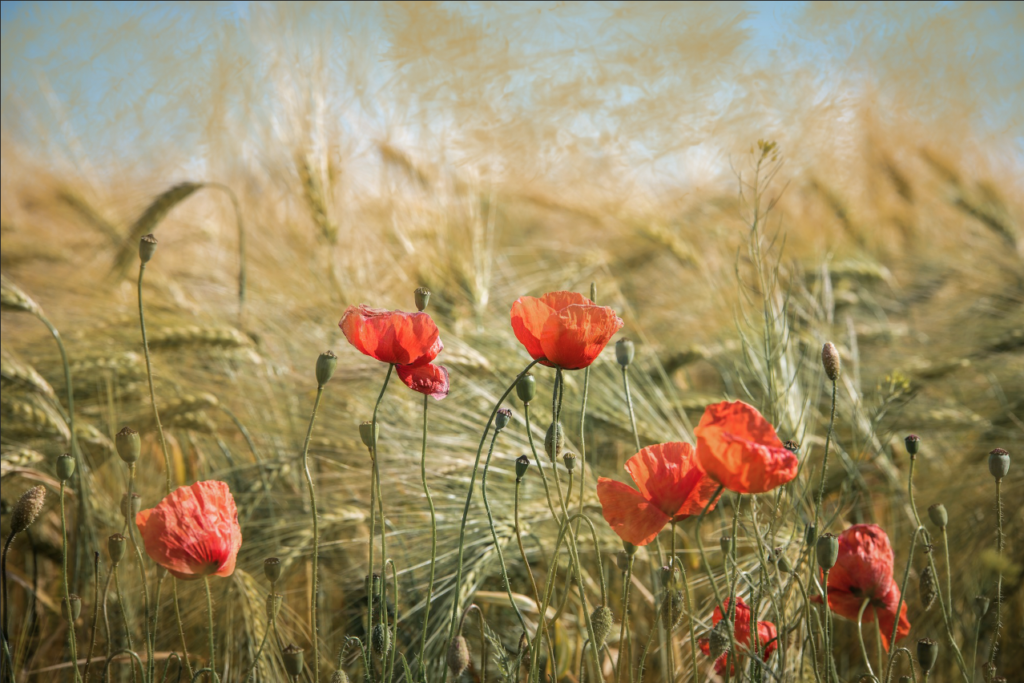
And, just like that you’ve created your very own Photoshop brushes from an image. As you practice more and more and refine your skills, you’ll find that you can make a Photoshop brush from almost any image. Use them to add an exciting element, cool textures, or fun patterns to your images. You’ll be surprised by just how adaptable they are.
Keep Reading: