Scanning Methods with the Epson V550
So you’ve gotten a new scanner, but still unsure how to set it up? Or use it for the specific ways you intended? Don’t worry, we’ve all been there.
I still remember when my scanner came in the mail a few years ago and I was so eager to start scanning all of my film negatives that I plugged it in and hit scan once it opened up, only to get error message after error message.
Then I decided to take a deep breath and step back to do some research and figure out how I can get the most out of my new scanner.
Today, after using the Epson V550 scanner for 4+ years, I’ll give you a quick breakdown on how to start scanning and what the best methods for scanning film, documents, art, and some other stuff as well!
Before Starting…
Before you start – I know you’re at that antsy stage where you’re just skimming through this text trying to find the one problem you can’t solve, but really take the time to do your research before you start scanning. It will only make things easier in the long run, and you’ll also be able to manipulate your scans more precisely once you know more about your scanner.
And yes, I say ‘manipulate’ because this is the first key thing to remember about your scanner – it’s a simplified camera. Anything you’re ‘scanning’ is really just an evenly lit photograph in a controlled space. Everything you’re doing with your scanner, you could do with a camera; however, the scanner is here to help make things easier with lighting, import/export, etc…
With that being said – do NOT forget that every scan can be manipulated, just like a photograph. With a camera, you can underexpose or overexpose an image, and with a scanner you can do the same thing. Most scanners, like the V550 will be set up with pretty much automatic settings, but when you start scanning film or artwork, you might have to tweak settings to ensure that you’re portraying a perfect color tone match.
Getting Started
Now that you have some knowledge about scanning under your belt, let’s set up shop. Go ahead and follow the directions on your Epson V550 instructions manual for setting up your scanner (physical). Once you’ve plugged everything in and your scanner is on, go to Epson’s website and download ‘Epson Scan 2’ software so you can start scanning.
Once you have Epson Scan 2 up and running it should look a little something like this:
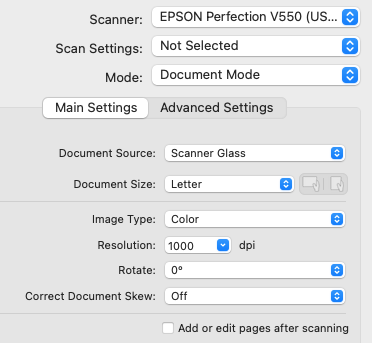
Once you have the basic Epson Scan homepage pulled up, take a look at the top where ‘Scanner’, ‘Scan Settings’, and ‘Mode’ are. This is where you’ll change your settings depending on what you’re scanning.
For documents, artworks, or any miscellaneous things, select ‘Document‘ Mode. For film and any type of negatives, select ‘Photo‘ Mode. Once you’ve selected the mode for your intended use, head into the ‘Main Settings‘ section right below.
Depending on what you’re scanning, your settings will differ, but we’ll give you some examples for a better idea on what to use.
For documents:
- Document Source: Scanner Glass
- Document Size: Letter
- Image Type: Color, BW, or Grayscale (BW is only two tones of black and white, grayscale is all shades of grayscale)
- Resolution: Completely up to you, but I prefer 600+ dpi for documents
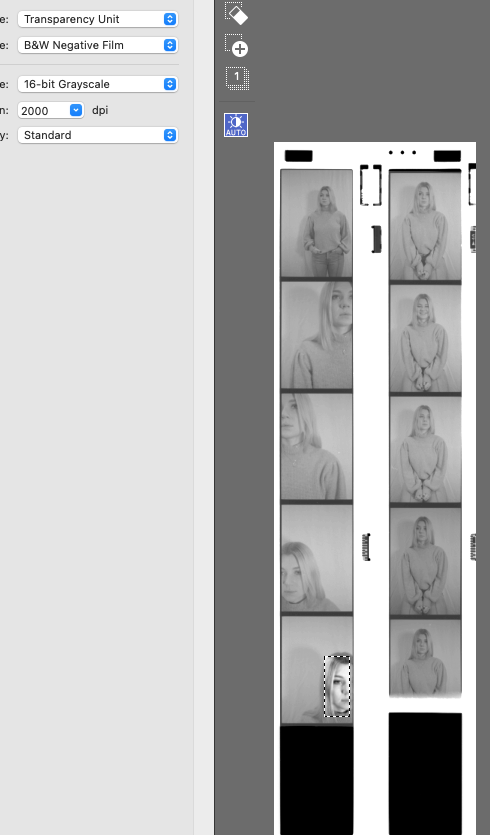
For film:
- Transparency Unit
- Type of Film: Color Negative or B&W Negative
- Image Type: For color negative film, use 48-bit color. For black and white film, use 16-bit grayscale.
- Image resolution is completely up to you but I prefer scanning in 1600+ dpi for film to make sure I capture all of the details.
- Scanning Quality: HIGH (why not?)

Scanning
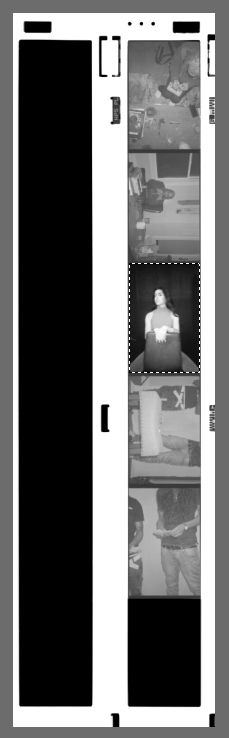
Once you’ve set up the main settings, the next step is to preview and prepare the scan. Hit ‘Preview’ in the bottom left corner. A preview of whatever you’re scanning will appear on the right side. If you’d like to zoom in or see thumbnail previews, play around with the different buttons in the top left corner of the preview window.
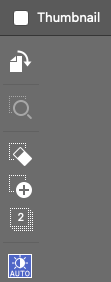
After I can see the preview of what I’m scanning, I select what I want to scan by dragging a box around whatever I want to scan. If you’d like to make another box to scan more at the same time, press the ‘plus’ icon in the top left of the preview window (pictured above) or draw another box around whatever else you’d like to scan. If you have multiple things selected and you’d like to scan them all at once, select the frame icon with the number of frames you’re scanning in the top left of the preview window (‘2’ pictured above).
Now you have your scans selected, let’s format our export.
The last (completely necessary) step before scanning is to set up your export settings.
Image Format for documents:
- scan as .JPEG or .PDF
- easy to open/distribute
- less hassle
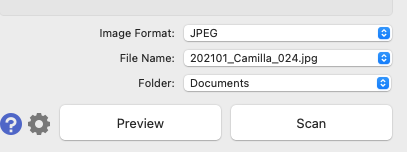
Image Format for film:
- serious photographer looking for pro-quality scans? Scan as .TIFF
- ensures highest quality, archival standard.
- need to clean + convert to .JPEG after
- beginner photographer looking for home film-scans? Scan as .JPEG
- scan + send
- less hassle/time management
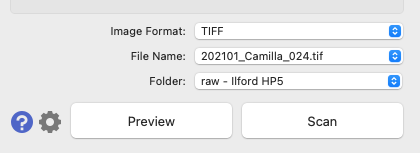
File Name + Folder:
This part is completely relative, but for archiving purposes, I always like to name my files with the full date, backwards, then the name of the shoot, and then with numbering. (see above for example)
For the folder, I also like to keep mine pretty organized, but feel free to export your scans to any folder on your computer!
Now that you have your settings ready to go, hit ‘Scan’ and then wait for your scans to finish exporting!
Advanced Scanning Methods
Now that you’ve followed our process for setting up basic scans with the Epson V550 for both film and documents, let’s take a look at some advanced scanning techniques and how to use these same practices on your own work!
For the Epson V500 there are tons of expert scanning techniques that you can use to make your work even better, but to keep from overcomplicating things, we’re going to focus on two advanced methods: Color Control and Levels Control.
Color Control
The first advanced technique is color control – this will help ensure that you’re scanning the correct color tone and not getting an under/oversaturated or exposed final image.
To do this, select a part of your preview that you would like to focus on. For artwork, I usually select a spot with only one color so I can focus to make sure that one color is right. For film, I usually select a strip of the negative so that the software is able to read all of the various light tones so that it can balance them. Once you select the section you’d like to focus on, click Color Management > Turn OFF Continuous Auto Exposure.
Once you’ve turned off auto exposure, go ahead and hit OK. A box will pop up, but just click yes to get through this – you are just overriding the auto-settings. Next, re-frame your selection cursor to fit the whole negative, or whole piece of work that you are trying to scan. Now when you re-size your selection tool, you should notice that the lighting does not change regardless of where you move it. Scan your selected piece, and then continue this same process throughout.

Although this is quite a tedious process, your final result will be noticeably better than a basic auto-scan.

scanned with selected focus + no auto exposure 
scanned with auto exposure
Levels Control
Next is levels control. This mainly applies for film, but you can also use this practice with any document as well to make sure the color balance is correct.
To control the levels, select the frame that you’re intending to scan. From here, click ‘Advanced Settings‘ > ‘Detailed Adjustments‘. After you press ‘Detailed Adjustments’ a new window will pop up.
Select the ‘Histogram Adjustments‘ tab at the top. Now that you’re in the histogram panel, play around with levels. This will change the contrast and saturation of your image. There’s no ‘right’ or ‘wrong’, but this will help you get your image ‘perfect’ in whatever way you’d like.


Hope you enjoyed this quick little scanning tutorial! Be sure to leave a comment if you have any questions :)


