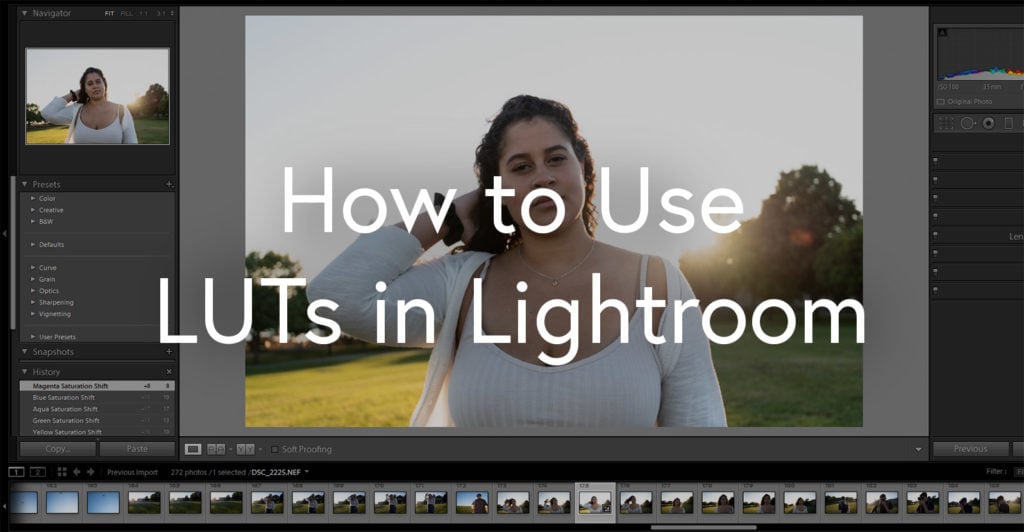
How to Use LUTs in Lightroom
Lookup Tables can make your videos and photos look amazing, applying quick and easy edits to them with the press of a button. Unfortunately, Adobe Lightroom doesn’t support LUTs right out of the box.
Today we’re going to show you how to bring your LUTs into Lightroom and start using them easily. One thing to note is that this only works with Lightroom Classic and not Lightroom CC.
Related: Popular LUTs on FilterGrade →
Building LUTs in Photoshop
You actually need to start in Photoshop’s Camera RAW. You can get there by opening up a RAW image in Photoshop. Navigate to the presets panel, and click the New Preset button while holding the Alt (Windows) or Option (Mac) key. Doing a normal click on this button lets you save your current adjustments as a preset, but we don’t want that.
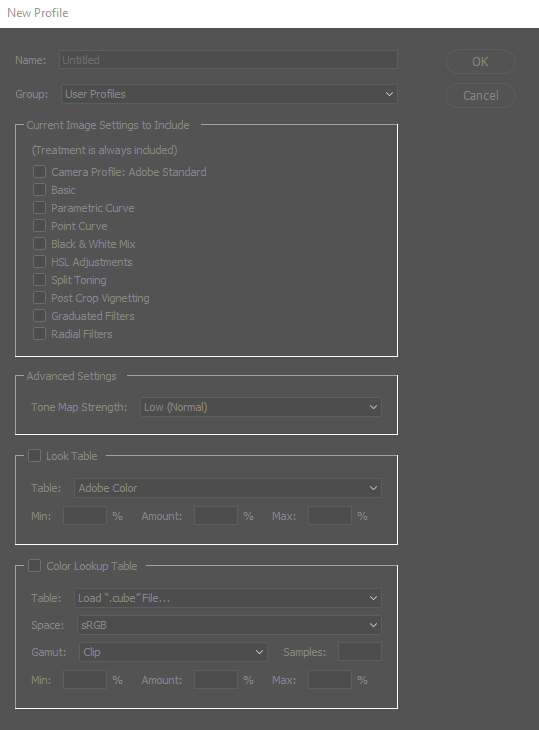
The dialog box that comes up is the New Profile button. Uncheck everything that is already checked and then check Color Lookup Table. You will be immediately prompted to search for a LUT on your computer. Navigate to the LUT that you would like to use in Lightroom and load it. Give it a custom name on top of the dialog box, then click OK. If you’d like to create a folder you can also click Group and select New Group. If you don’t select a group, the LUTs will appear at the bottom of your LUTs list in Lightroom.
Browse LUTs in Lightroom
If you had Lightroom open during this process, you’ll need to quit and re-open it for the presets to appear.
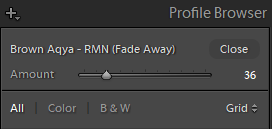
Now go to the Develop tab and open the Profile Browser. It’s a 2 by 2 rectangle symbol right at the top of the Develop tab. Among all of your existing LUTs, you’ll see your new LUTs or LUT folder. Click on the LUT to apply it, then simply adjust the amount to achieve the perfect look that you’re going for. In this tutorial we’re using the Riyaz MN Teal & Orange – Cinematic LUTs VOL.1.
When Should You Apply a LUT?
LUTs can make your photos look better, but how should you go about applying them? Most experts agree that you should color-correct your photos first. Get the white balance, exposure, and everything else to a good point, and then apply the LUT. That way you have a great-looking photo as a base, and the LUT is mostly doing color work. Sometimes LUTs will limit what you’re able to do, such as a LUT that reduces the contrast and prevents your shadows from ever being truly black, so it’s best to make those adjustments beforehand.
LUTs won’t always work 100% of the time, so you may need to adjust your photo after applying it, if it crushed the shadows or blew out the highlights, for example.
If you’re a visual learner or weren’t able to follow what we were saying here, we recommend checking out this helpful video from Scott Kelby:
If you’re interested in trying out LUTs in Lightroom, then browse and download some awesome LUTs from the FilterGrade marketplace!


Where is the presets tab in Camera Raw 13.2
I can’t seem to find it any where.