The Premiere Pro Workspace: How to Customize Your Editing Workspace

One of the best things about Adobe products are their ability to customize to your needs. Creative Cloud has near constant updates with new features and improvements for your workflow. In this article, you will learn all about how to customize your Adobe Premiere Pro workspace, so that you can work the most efficiently!
View our recently updated tutorial:
What is a Workspace?

The workspace is what you see when you open up a project in Premiere. This includes the project timeline, the source monitor, the viewer, and more. These are some of the more common parts of a workspace, but depending on your needs you can customize the workspace however you like. You can arrange your panels around however you see fit. You can even nest multiple panels into one for easy access, meaning that you can have a ton of information and menus packed into a small area!
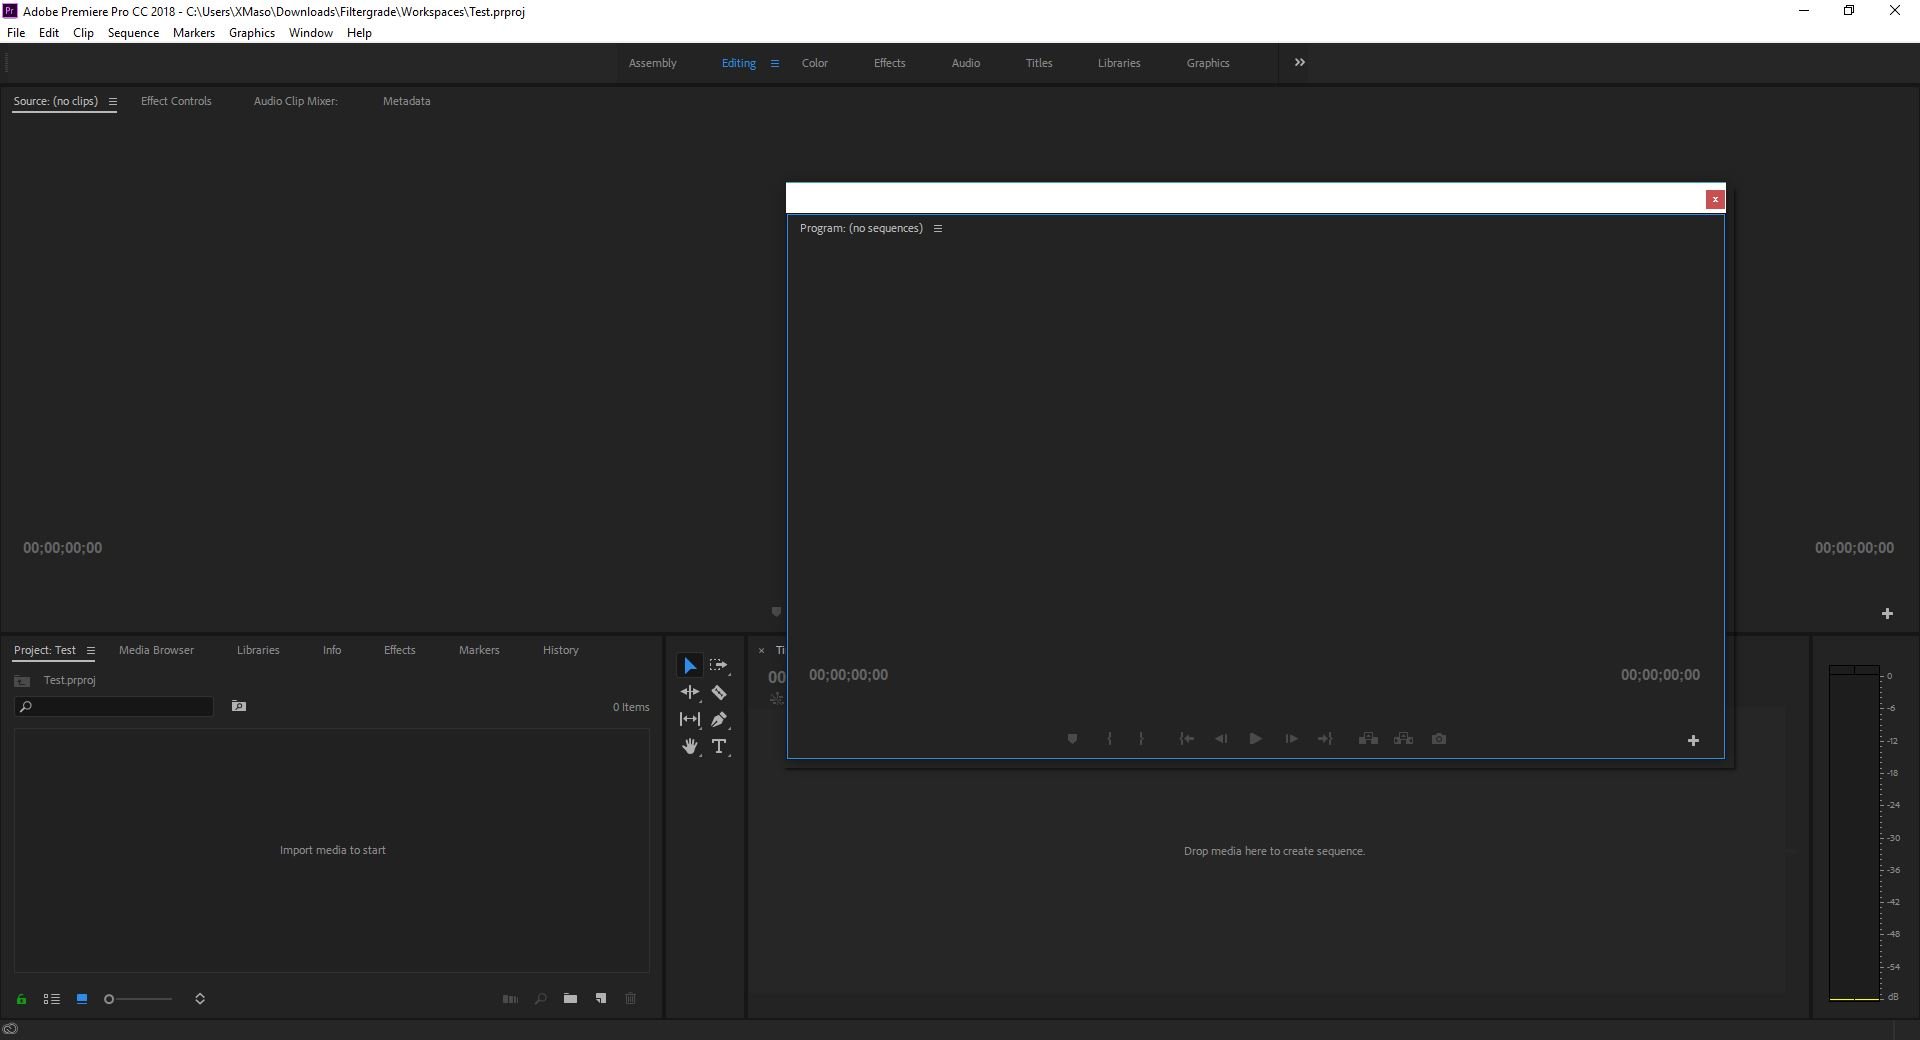
By default, the Premiere Pro workspace will contain the Source Monitor in the top left, the Program Monitor in the top right, the Project panel in the bottom left, and the timeline in the bottom right. This is the Editing preset, and will be your first introduction to Premiere.
Preset Premiere Pro Workspaces

Premiere Pro contains several workspaces already. In addition to the default, which is the Editing workspace, you can also choose Assembly, Color, Effects, Audio, Titles, Libraries, and Graphics. For many people, this may be all you need! These presets are designed to be ideal for different types of work, and will be effective for most situations. You can find these presets on the top of your program, with the currently selected one highlighted in blue.
It is recommended that you leave these as they are, in case you need to revert back to them. But, you can edit and override these presets if you like.
Rearranging Your Workspace Panels

With a ton of different potential panels to use, you may wonder how you can add these to your Premiere Pro workspace. To do this, simply click on Window and click on any of the unchecked options. This will insert the selected panel into your workspace.
Adobe makes it very intuitive to rearrange panels in your Premiere Pro workspace. Click and drag the top bar of a panel, where the name of the panel is. When you drag your mouse cursor into another panel you will see shapes (called drop zones) appear, with one large rectangle in the center, and some smaller shapes on either side. These are all the places where you can drag a panel.
Dragging the selected panel into the center will nest it under that entire panel in a grouping zone. For example, moving the Program panel into the Source Monitor this way will add that panel to the list of other panels that include Effect Controls, Audio Mixer, etc. This same effect can be accomplished by dragging it into the top bar where all of those panel names can be found.
When you drag the panel to the top, bottom, left, or right sections of another panel it will orient that panel on that side of the other one. It won’t combine the two panels in any way, and it won’t change the size of other panels. It will fill the space that the two panels were already taking up, whether that be vertical or horizontal.
Dragging the panel all the way to the left or right of the Premiere Pro window will result in the panel transforming to take up that entire half of the window.
Undocking Panels
Undocking panels will make them free-floating. This means that you can drag the panels around outside of the main Premiere Pro window. This is great if you want to have another window to view video footage, perhaps on another monitor. This gives you as the user a lot of customization in Premiere. Being able to use all of your monitors, if you have more than one, is a great boon to anyone trying to maximize their productivity in video editing. Multi-monitor configurations are remembered in saved workspaces.
If you want to re-dock a free-floating panel, you can just drag it into a drop zone the same way you would if it was still docked.
Resizing Panels
All of the panels in Premiere Pro can be resized by click and dragging on the border between panels. You will see a vertical or horizontal line with arrows pointing in the available directions, then you just have to drag! To resize in all direction at once, you can select the intersection point between three or more panels.
Saving Workspaces

Saving a new Premiere Pro workspace and making it accessible for later is easy. All you have to do is rearrange your panels into whatever combination you like, then click on the three horizontal bars next to whichever workspace you’re in. One of the options will be to Save As New Workspace. You will then be able to give this new workspace a name, and it will appear along with your presets. If you want to customize how workspaces appear, you can click on the double arrows to the right of the workspace bar and click on Edit Workspaces. You can then change which workspaces show up in the bar, in the overflow menu, or not shown at all.

If you want to override a preset, or make changes to a custom workspace, you can instead click on Save Changes to this Workspace.
Your Workspace
Adobe Premiere Pro workstations are extremely customizable, and you can make the program work for you. This is one of Adobe’s greatest strengths, and is one of the reasons why so many people use it. Not only is the software powerful, but it is also versatile. Customizing your workspace to your project’s need will make every edit more efficient. You’ll be able to spend more time editing, and less time looking for obscure menus and settings.


